This post is sponsored by Nordstrom and ShopStyle. The product selections are my own, and I only highlight and promote pieces that I truly love. Thank you for supporting the brands that support Sheaffer Told Me To!
*********************
Happy Monday, y’all!
Our weekend was great, and I hope y’alls weekends were too! Friday night we ate on a patio with neighbors/friends (shout out, Barbours!), Saturday morning we volunteered at the Manda Strong 5k, we had a soccer game that afternoon, and we rounded things off with an awesome church service on Sunday! I got a lot done around the house yesterday, and now we’re ready for the week ahead.
I’ve got 3 incredible posts this week that I’m super excited about! And to kick things off this week, I’ve got a new beauty post for you! I’ve done 8 Nordstrom beauty posts already this year, and I’ve got two more in me (including today’s) to finish up the year. For today’s post I focused on 1 brand. It’s probably the brand that I get the most questions about, and I would say it’s definitely the beauty brand that has experienced the most “buzz” over the last several years.
You guessed it, it’s CHARLOTTE TILBURY!
So here I was, in the Starbucks line sans makeup, on my way to Northpark last week for my makeover! All I had on my face was Supergoop Unseen Sunscreen and my beloved Charlotte Tilbury Magic Cream.
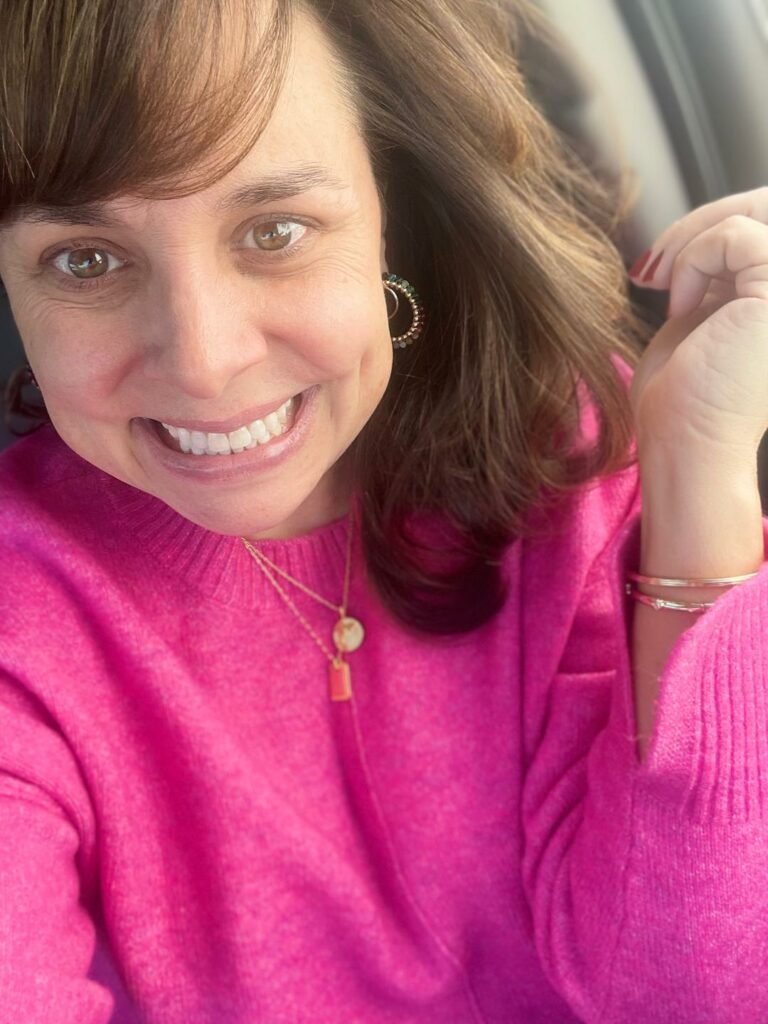
Now, to be honest, this wasn’t my original plan for this month’s post. I made an appointment at Nordstrom Northpark with their Beauty Stylist, and I was going to have her do a makeover on me…choosing her favorite products/brands from all over the beauty department. WELL, when I arrived and explained to the stylist what I was up to, she actually suggested I meet with Sarah.
Sarah is a full-time regional artist with Charlotte Tilbury, and she travels all over sharing her Charlotte knowledge with the world. And she just happened to be at Northpark that morning! And since she also does killer makeovers, it was pretty much a no brainer for me and I was so excited to work with her! She preferred to not be on camera, but I loved the makeover she gave me, and it was super interesting and so informative listening to all of the important info she had to share about the Charlotte Tilbury products.

*********************
Sarah preferred not to be photographed, but she got right to work choosing all of her favorite products for me for a full face!
Everything you see in italics in today’s post are Sarah’s words. She let me audio record her as she was doing my makeup, and I learned SO MUCH. I’m so excited to be able to share all of her knowledge with y’all today.
SHE STARTED WITH SKINCARE…
Magic Cream: This is a product that I’ve been using AND LOVING for years. I first found it years ago after reading that many people liked it more than the much more expensive La Mer, so I knew I had to try it. The Magic Cream is the first product Charlotte ever created. It’s serum, primer, and moisturizer all in one! It has a peptide patent that Charlotte actually owns in the Magic cream, so no other cream will ever have that peptide. Massage it into the skin because you’re activating the peptides and the collagen in your skin. When massaging it into the skin, lift up and away to help fight the gravity. You’re really getting to the underlying muscle tissue in the skin. It encourages the fastest cellular turnover of anything on the market.
Glow Toner: This is a new to me product, but I loved the way it felt on my skin, and I really loved how my skin looked after she applied it! And after Sarah talked about it, I knew I had to start using it. It has hyaluronic acid in it, and it also has niacinamide as well. The niacinamide is actually going to help with texturization, pore minimization, and hyperpigmentation of the skin. It’s acid free, so you can use it twice a day, every day. It gently exfoliates, and it reveals a glowing and glass-like finish. And the peptides brighten then skin for a more even complexion. SIGN ME RIGHT ON UP.
Magic Serum Crystal Elixer: The serum also has the niacinamide, because Charlotte believes the texture of the skin is of utmost importance. This serum also has the crystal elixers in it (diamond dust, ruby dust, and rose gold) in it. And it has polyglutamic acid in it which is 4x more hydrating than hyaluronic acid. So if somebody has dry patches on their skin, this is going to be super super helpful for hydration as well as brighter skin! It also plumps and hydrates your skin to promote flawless makeup application.
Cryo-Recovery Eye Serum: The packaging on this eye serum is awesome and super functional. It has the titanium tip, which is going to be cool to the touch every single time that you use it. And it has the cryocomplex which is going to be like dipping your face into an ice bucket of water. It’s a blurring serum for the eye area and helps to smooth out the fine lines. Go all the way around up and out below as well as under the brow bone. It has the caffeine complex and the niacinamide, so it will help with both texture around your eyes as well as dark circles. This is great to keep in the fridge. It visibly depuffs, smooths, and brightens!
Magic Eye Rescue: When you use this Magic Eye Rescue, you will instantly see the tightness and the smoothness around your eye area because of the caffeine complex. Use the eye cream in morning as well as night. Our delicate skin around our eyes is 40% thinner than the other skin on our face, and it’s the fastest place to age, so you definitely want to protect that eye area during the daytime. This product will give you INSTANT gratification. Charlotte actually likes to call this eye cream Spanx for the eyes! 🙂 It can also be used as a mask at night when you are feeling extra tired.
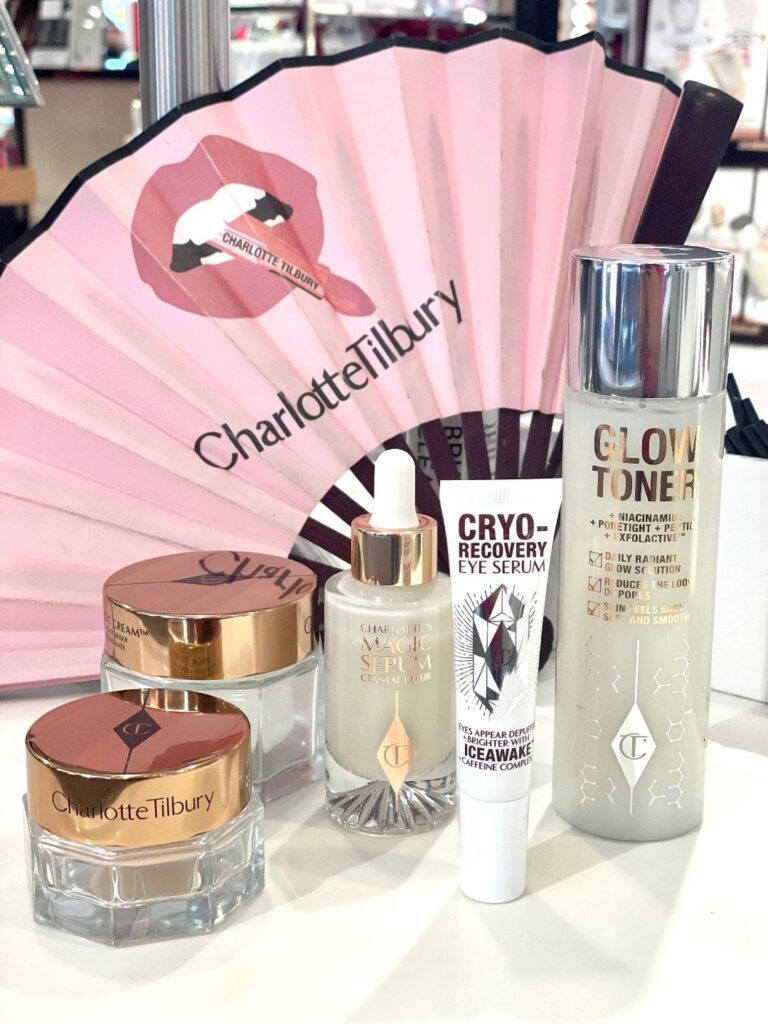
I tried to get a picture of myself after all of the above skincare had been applied, but it didn’t work out. I looked so fresh faced and my skin looked so healthy, but under the harsh lights, the photo just didn’t do the products (or my face) justice! Haha!
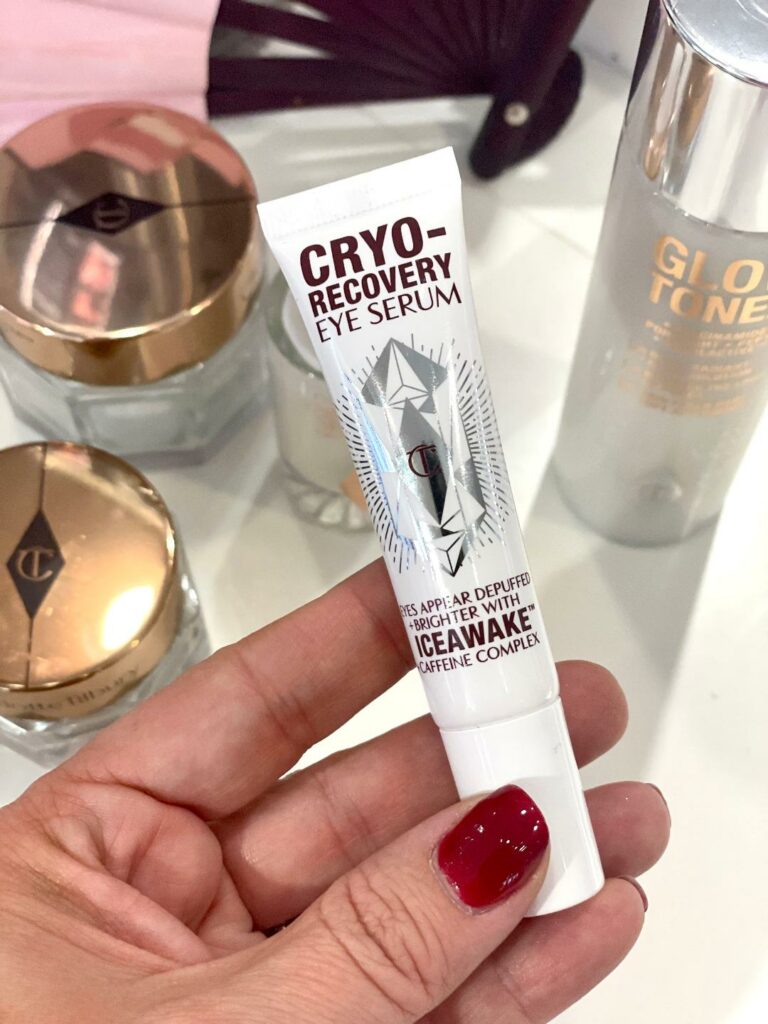
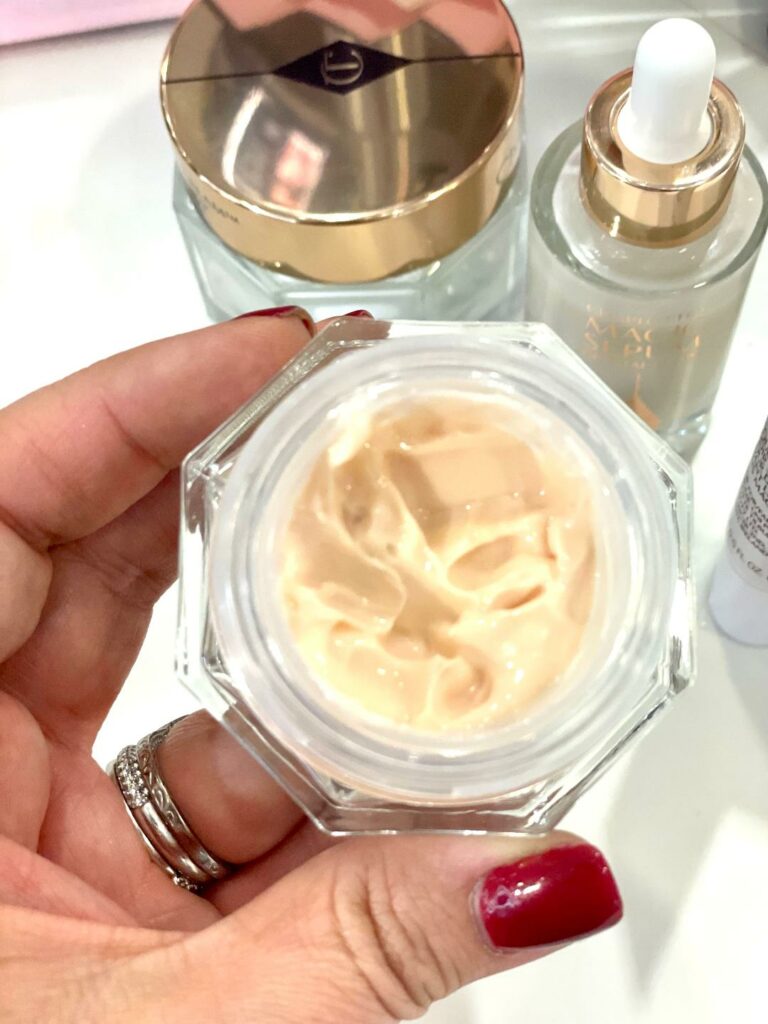
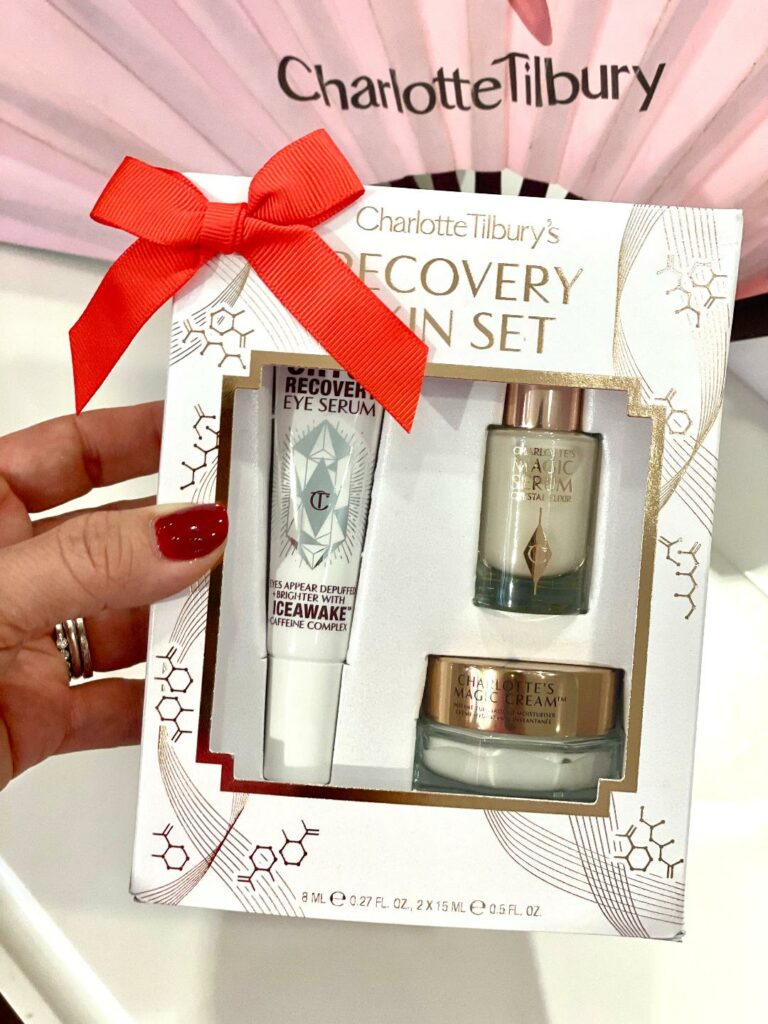
Sarah actually recommended this little Recovery Skin Set to me. The set includes the Cryo-Recovery Eye Serum, the Magic Serum Crystal Elixir, and a travel size of the Magic Cream! This would be a great way to economically try out some of Charlotte Tilbury’s skin care shining stars!
*****
AFTER THE SKINCARE ESSENTIALS, WE MOVED ON TO FOUNDATION AND CONCEALER / COVER UP…
This is what she used on me…
Beautiful Skin Foundation (6 Neutral): I told Sarah that I wanted a heavier coverage for fall than the normal Glow Screen combo that I use in the summer, and I also told her that I had recently started using a combo of Georgio Armani Luminous Silk Foundation with the Supergoop Glow Screen for fuller coverage for fall.
Based on what I told her, Sarah thought that the Beautiful Skin Foundation would be just what I was looking for. She said it is medium coverage and going to give you beautiful and dewy skin. You’re going to get good coverage, but with a light and airy skin-like look. You can use a brush, a beauty blender, fingers, whatever you like to apply it. It has brightening rose complex and hyaluronic acid in the foundation.
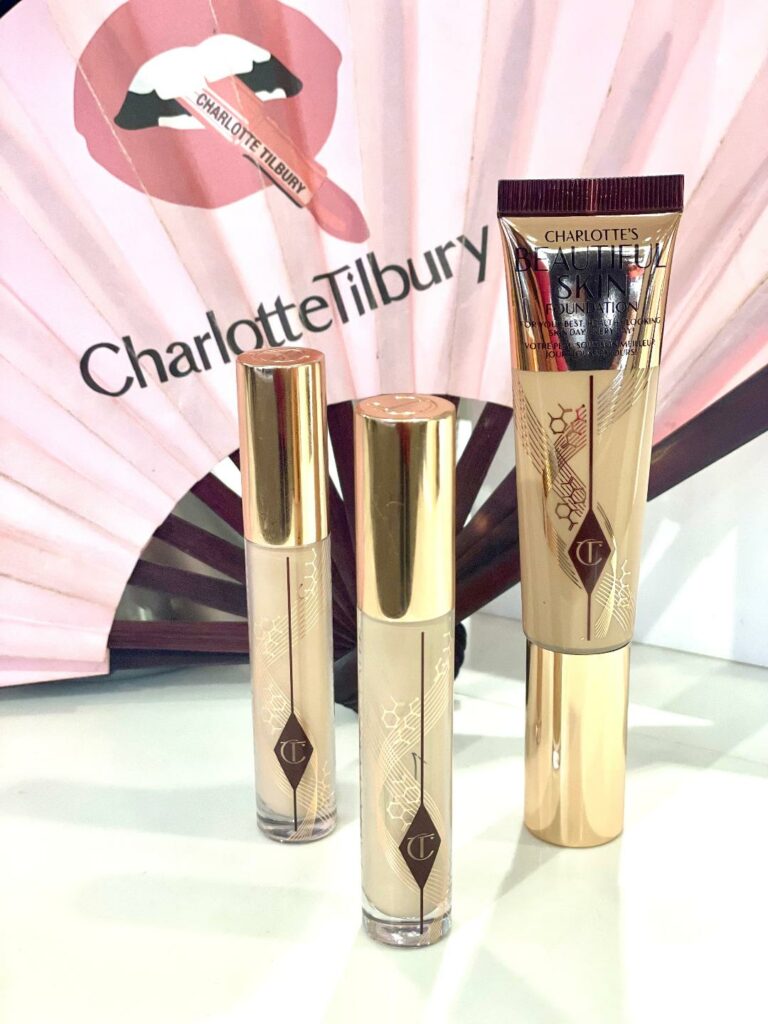
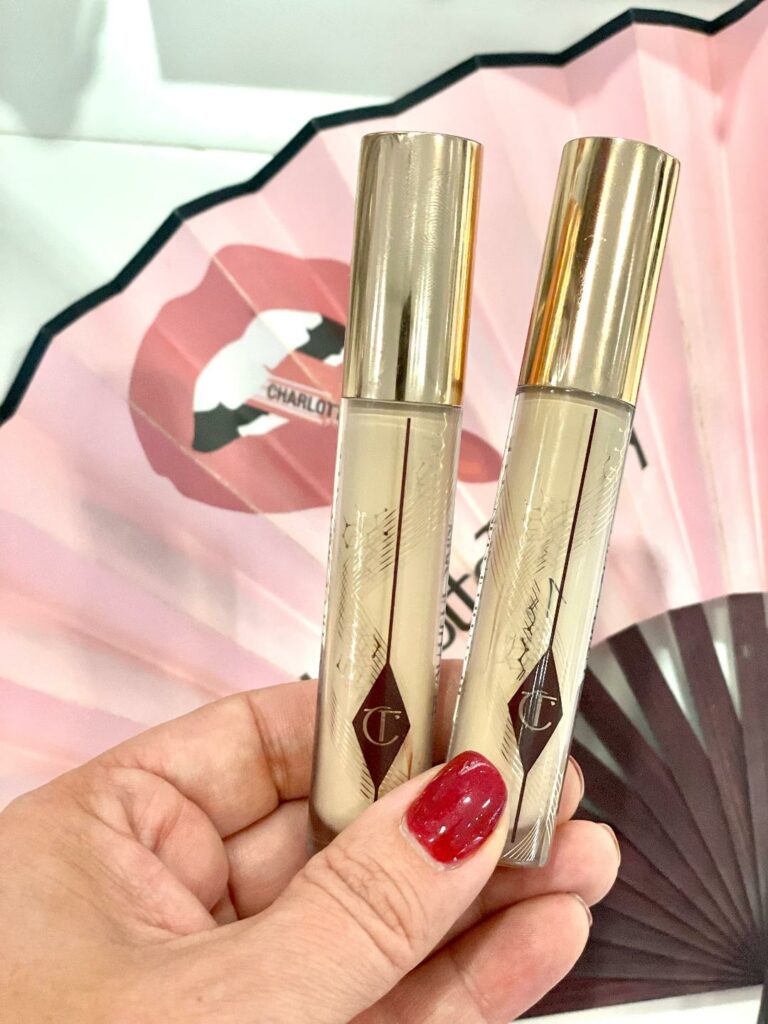
Beautiful Skin Concealer: When choosing concealer, some people like it one shade lighter, some like it two shades lighter. This one does optimize a bit, which means it changes its color a bit as it dries down. It is a self-setting concealer, so technically you don’t have to set it. It is the most beautiful concealer. It’s for any skin, including mature skin. It has niacinamide to help with texture and dark circles around the eyes. This also has vitamin C, vitamin E, and hyaluronic. There is actually skincare in this concealer, which is amazing! Some people (including me) actually use this as their foundation. I haven’t used a typical foundation in 20 years. You can dot it on your skin with the wand. Do it where the hollow of your eye is and then blend up. Think of it as an eraser for the face. Use thin layers because that’s all it takes.
So she put the #6 under my eyes for some brightness, and she put the #7 where she thought I needed a little more coverage, like on my dark spots.
**********
NOW ON TO THE EYE MAKEUP
It’s actually my eye makeup that was my absolute favorite part of the makeover. She lined my upper lid on my actual eyelash line (not above like I’ve been doing it for years), and she didn’t line my lower lid with matching eyeliner. She used the metallic champagne eyeliner on my waterline, and then she used this eyeliner brush to apply Charlotte Tilbury Bronzing Powder where I used to apply typical eyeliner. Sarah said she’s always done the eyeliner in the upper lashline because it makes the lashes appear fuller and darker. You actually put it between the lashes! She does it to every single person that she does makeup for, and I couldn’t believe the difference it made for me.
When I lined above my eyes, I think it just covered up my eyelashes. Lining in the lash line actually just made the base of my lashes look naturally dark. It looked less like makeup (was way less severe), and I loved it so much!
And then, when working on my lashes, instead of using an eyelash primer, she just used two mascaras. She started with the Full Fat Lashes Mascara and then she finished with the Pillow Talk Push-Up Lashes Mascara.
When applying the mascara, she worked in sections and explained how you want to have your lashes look like a spread out fan to help draw your eyes out and have your eyes look more elongated. I’m telling you, my lashes didn’t even look like my own lashes when she was done with them! HANDS DOWN…BEST LASHES I’VE EVER HAD!
And then she just did a light coat of the Full Fat Lashes Mascara on my lower lashes.
I believe her method really opened my eyes up, and the whole look was just younger and fresher!
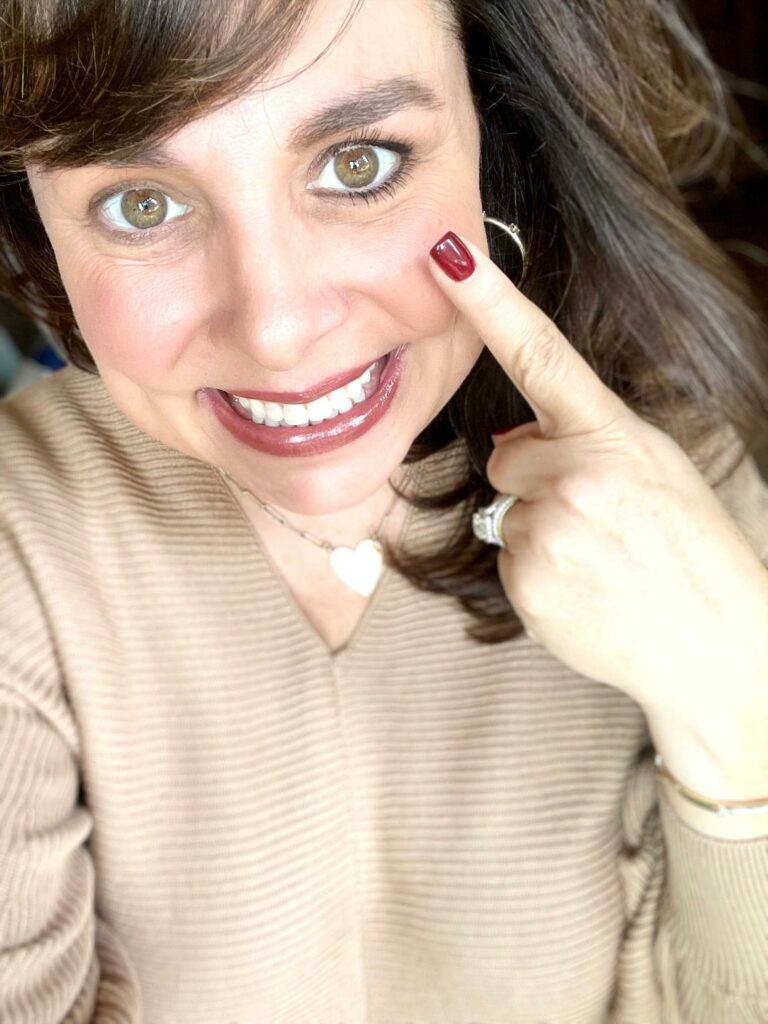
Lining in my lash line is going to take a little bit of practice, but I’ve done it every day since the makeover, and I’m already getting better at it. See how it looks like the base of my lashes is just really dark? It doesn’t even look like eyeliner!
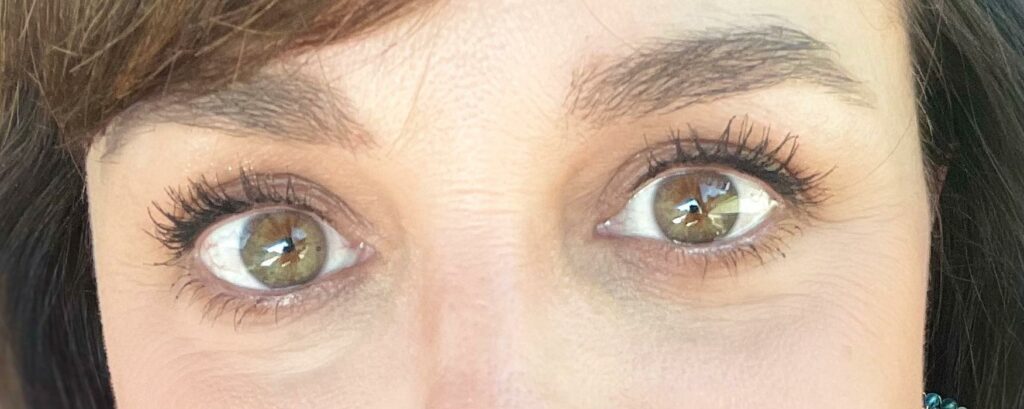
Here’s a picture from a previous post, and it highlights how different my eye look was when I was using the dark eyeliner on the bottom as well as the top. Such a difference, right? I really like the new look above so much more!
Urban Decay Anti-Aging Eyeshadow Primer Potion / Bobbi Brown Cream Shadow Stick
Somehow I forgot to get a picture of the products, but Sarah used two different CT products on my brows. At first she used Legendary Brows Micro-Presicion Tinted Brow Gel in dark brown. She explained that it has castor oil in it and a microbrush, so it captures any little fuzzies and tiny hairs you have and turns them into a nice hair strand. Castor oil also helps to stimulate hair growth and condition it as well. So she started with the tinted brow gel, and then whenever she saw patches that seemed to be lacking, she went in with the Brow Cheat Pencil. She also recommended to add a bit more of an arch to my brows with the products to help to “lift” my eye up. Another hot tip she gave was for me to brush my eyebrows UP (more than sweeping them to the side) because it gives my eyes a lift and makes me look more awake. Both products are waterproof.
Pop Shot Eyeshadow / eyeliner brush / eyeliner duo / Full Fat Lashes Mascara / Pillow Talk Push-Up Lashes Mascara
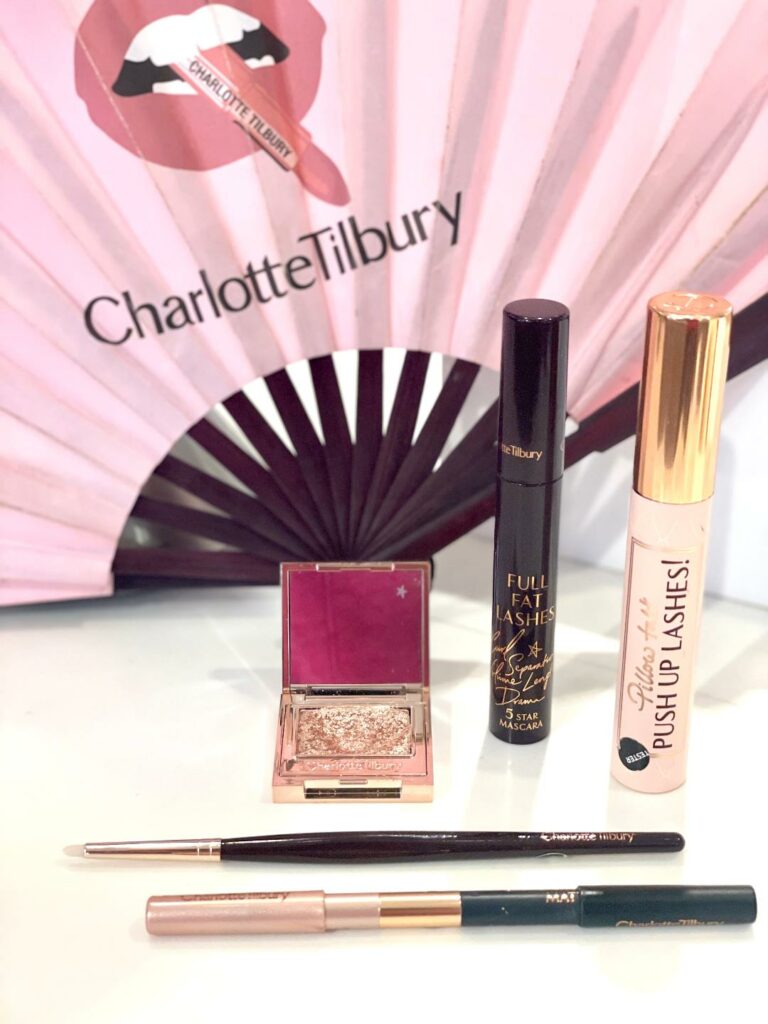
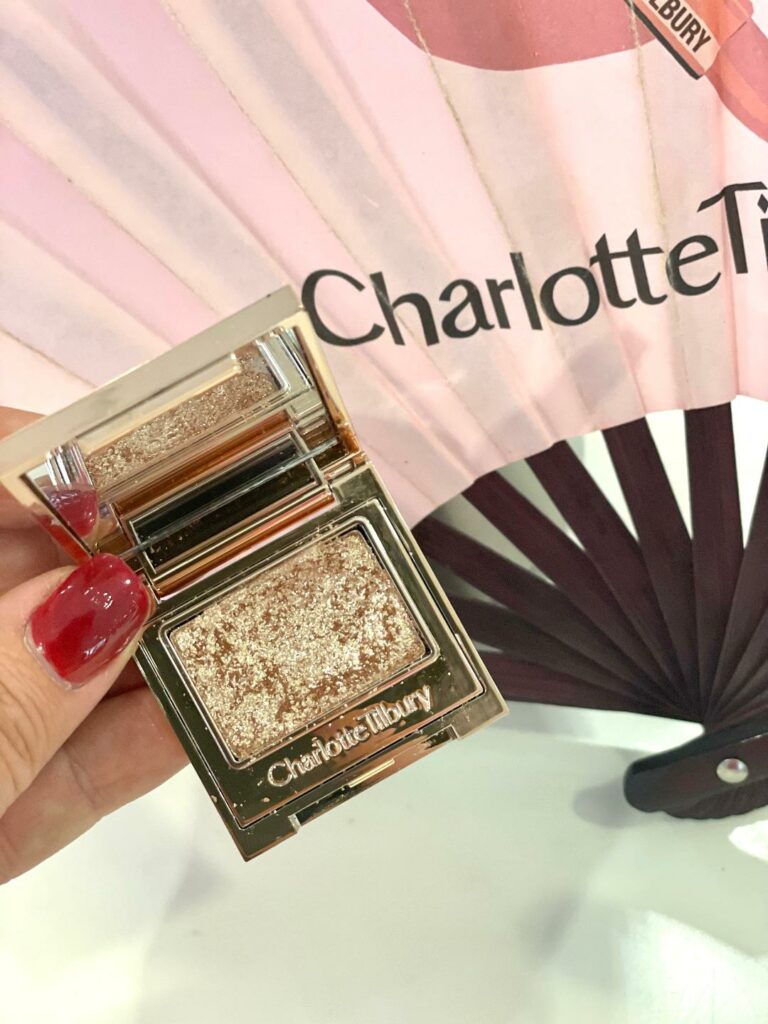
This Pop Shot Eyeshadow is the product that she just dabbed on my lower lid over the bronzer that she used as eyeshadow.
Charlotte Tilbury Airbrush bronzer: I actually talked about this bronzer in my beauty post last month! I bought it after the kiosk at the Stonebriar Nordstrom influenced me because the model that was wearing it on the marketing materials was freaking glowing, but she wasn’t sparkling. She was bronzed, but not orange. I was sold. Sarah told me that the bronzer has hyaluronic acid in it as the hydration where the setting powder has the almond oil. This is Sarah’s favorite bronzer because it gives a blurring effect to the skin. She said I apply it with the Air-Brush brush. It’s such an underrated brush, it’s my very favorite brush. I love using #3 because it gives you a bit of a red sun-kissed look vs. an orange-y look.
Airbrush Flawless Finish Setting Powder: Sarah used the #1 setting powder on me. She explained that this one has almond oil in it, so it’s never going to be drying, but it’s going to blur out the skin. It’s micro-milled, so it’s the finest powder in the world. It also has rose wax in there that gives the blurring effect to the skin. I like to gently pull the skin up when applying it so you don’t risk getting any creasing and it just makes for a very smooth application. Charlotte created this because she wanted a powder that she could use, her mom could use, that anybody could use. She knew people dreaded powder because it often had a drying effect, but she also knew that didn’t have to be the case.
Charlotte Tilbury Airbrush bronzer / Air-Brush brush / Airbrush Flawless Finish Setting Powder / Cheek to Chic Blush
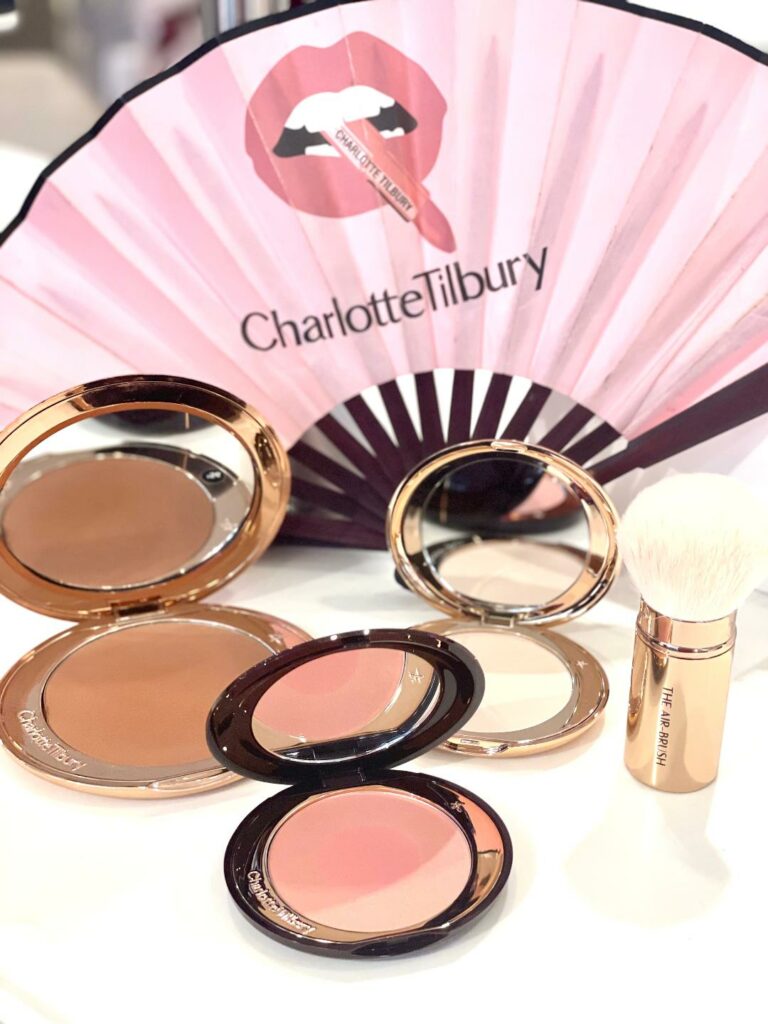
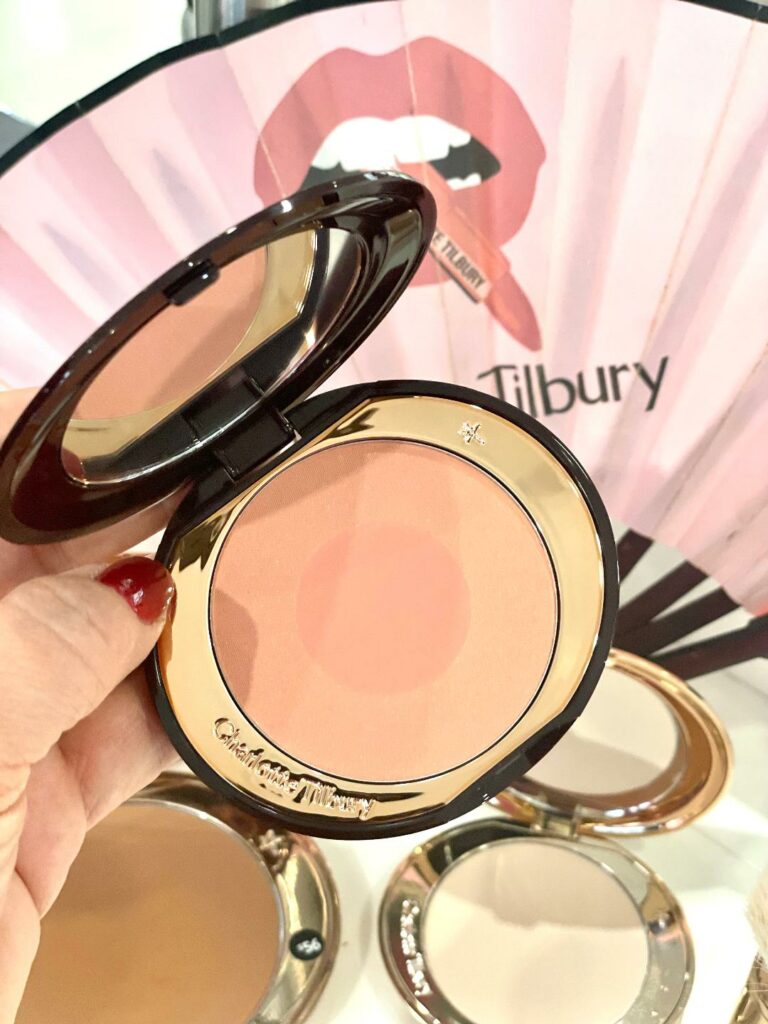
Cheek to Chic Blush: Sarah chose Ecstasy for my blush shade, which surprised me because the color is quite a bit softer than the brighter pink blushes that I typically go for. She said to apply blush on top of cheekbones, and then use whatever is remaining on the brush in the hairline and on top of the nose.
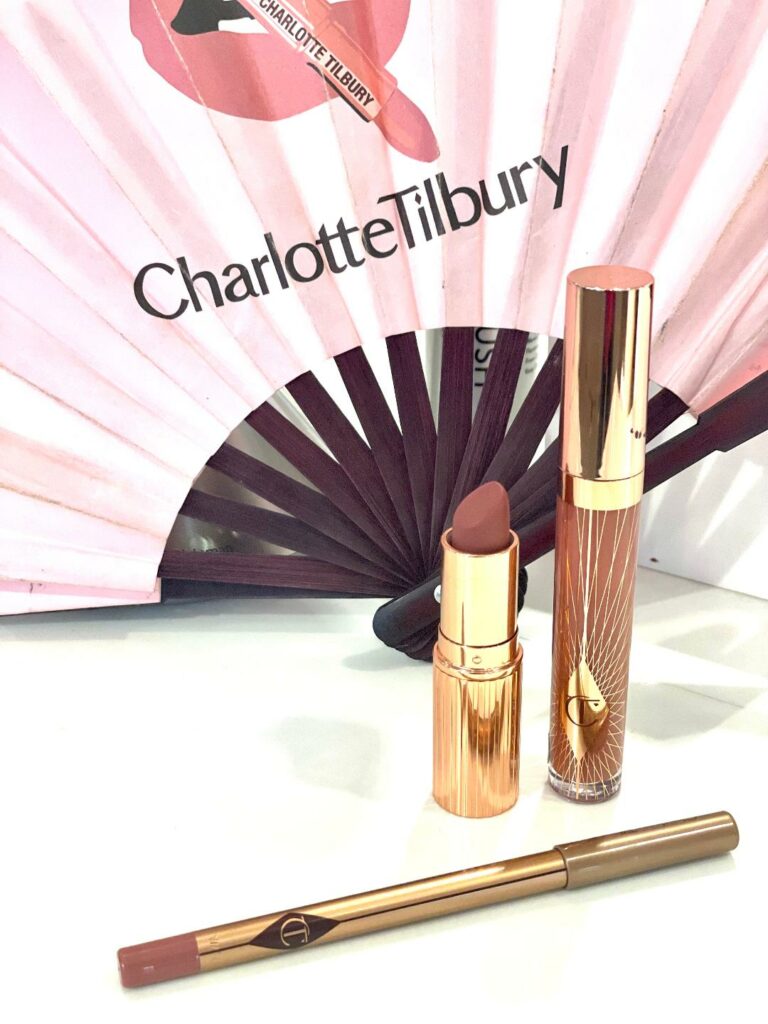
Lip Cheat Lip Liner: Pillow Talk Medium was the perfect shade for the lip look that Sarah was planning on creating. She told me to smile as that’s the easiest way to line the lips, but then she said that she often goes just right above and just right below the actual lip line to create a bit fuller of a look. I find most lipliners to be incredibly drying, but not this one!
Matte Revolution Lipstick: Sarah chose Pillow Talk Medium for my shade. I told her that I really like a shiny lip, but she still chose this matte lipstick. Don’t let the matte descriptor discourage you though, this lipstick is incredibly hydrating, but the “matteness” gives it staying power. I loved the color, and we just finished the look off with gloss.
Collagen Lip Bath Lip Gloss: Sarah applied this Pillow Talk gloss at the very end. This gloss contains marine collagen and it infuses your lips with actual collagen. It also has mustard and mint extract in there too. It won’t burn your lips, it’s just going to give you a beautiful and plump smoothed out lip look. It will treat your lips over time because of the collagen.
She finished off the entire look by spraying generous amounts of the CT Setting Spray all over my face. Sadly, it’s sold out now worldwide, but they hope it returns soon. It has zero alcohol in it, but it also has aloe and Japanese green tea so it’s very soothing and hydrating to the skin. You can use the setting spray as a primer, as a setting spray, and as a hydrating mist.
Sarah put on more than I normally do, and she encouraged me to use more because it really melts everything together!
*********************
I really enjoyed my time with Sarah, and I’m so grateful for everything I learned from her about the Charlotte Tilbury products. THANK YOU, SARAH!
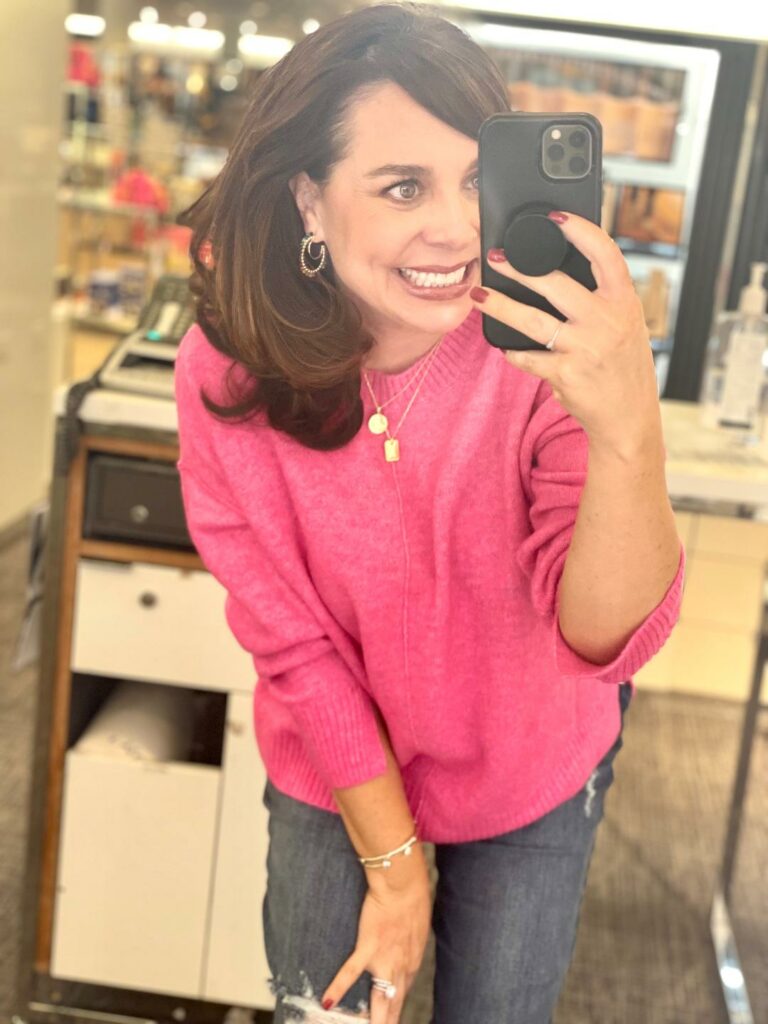
I grabbed one quick shot while still at the makeup counter, but you can see how the in-store lighting didn’t really give a real true picture of my finished face. I don’t feel like it gave my makeup (or my face) a chance to shine. Haha! 🙂
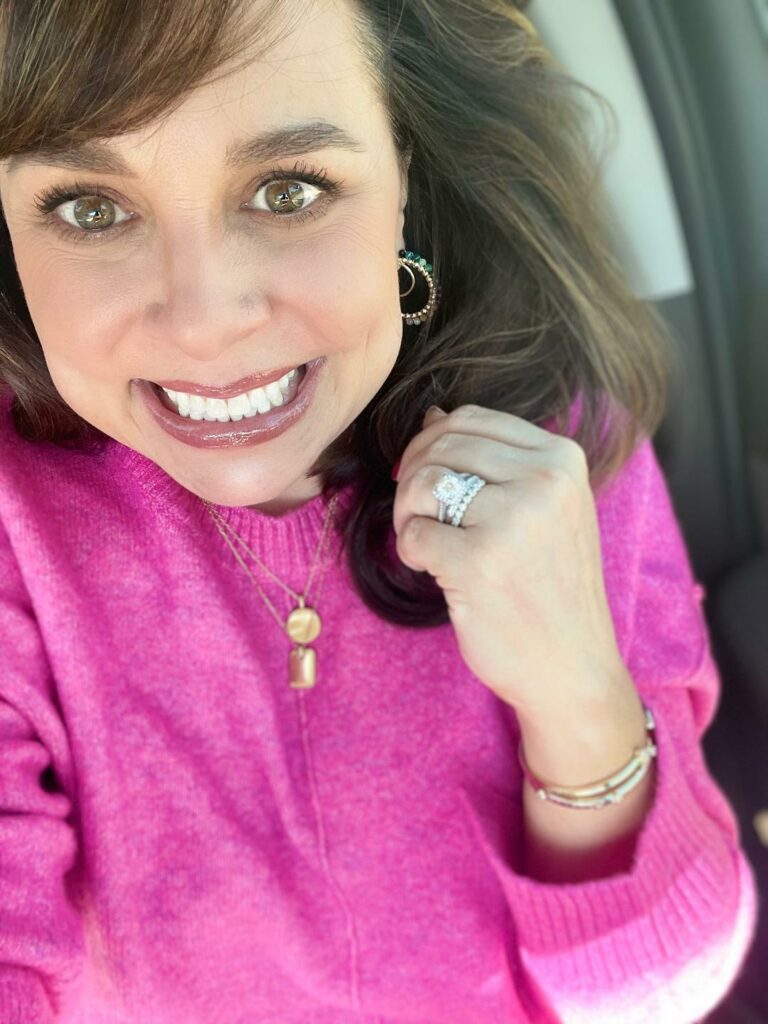
As soon as I got in my car to head home, I grabbed another picture.
I truly loved my final look!
Now listen, nobody needs to grab an entire new arsenal of makeup for a new makeup look. HOWEVER, you can definitely update your look by grabbing a new product or 2 (or 3) here and there. 🙂 As I said before, my eye makeup was the favorite part of my look, but I was truly impressed with everything from the eye cream to the collagen lip bath lip gloss.
colorful hoop earrings / crewneck sweater / necklace set
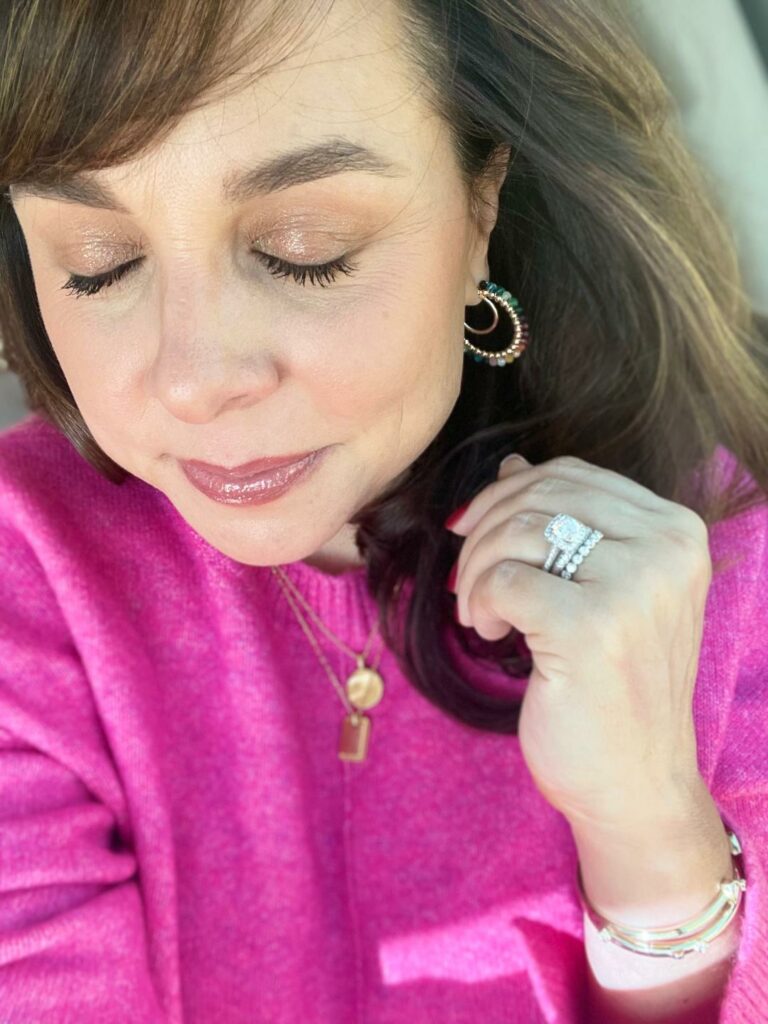
And then I grabbed one more picture once I got home.
The level of coverage is just what I was looking for, and I truly felt like my skin looked airbrushed! From the foundation, to the concealer, to the pressed powder, to the bronzer…. I was just getting airbrushed every step of the way.
My eye makeup looked younger and fresher!
And I’m in love with the lip color.
Sarah, you are so good at what you do! Thank you for spending your morning with me and for sharing so much of your knowledge and passion with me so that I could in turn share everything with my readers!
colorful hoop earrings / crewneck sweater / necklace set
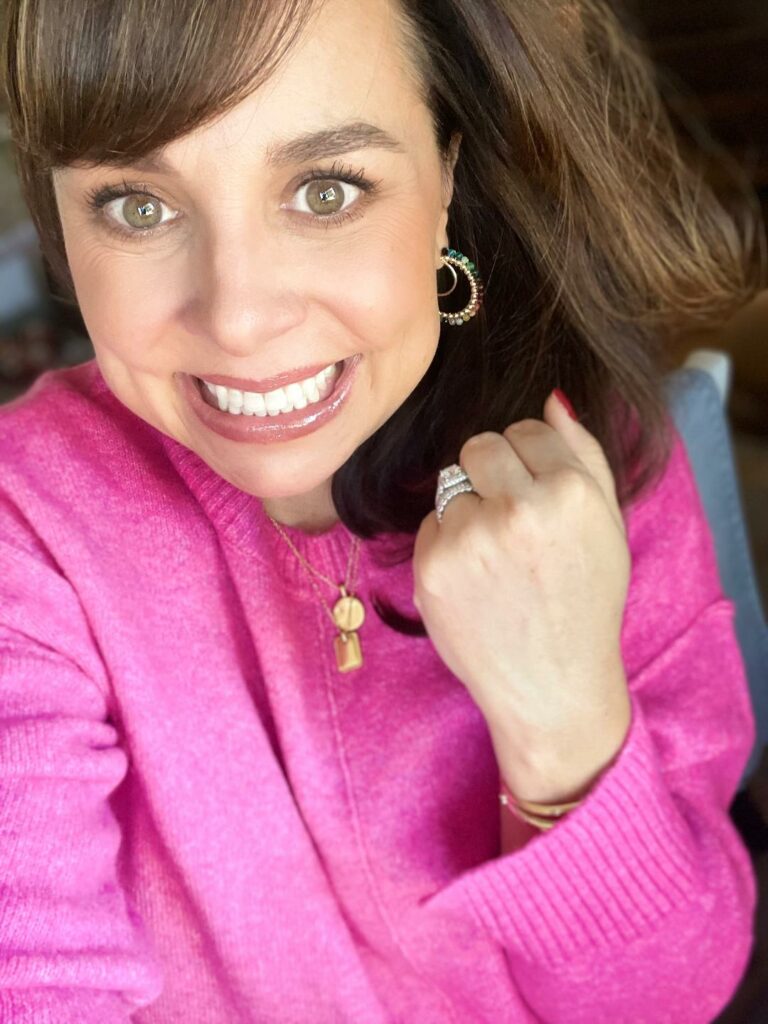
*********************
OUTFIT PLANNING
Before you go…
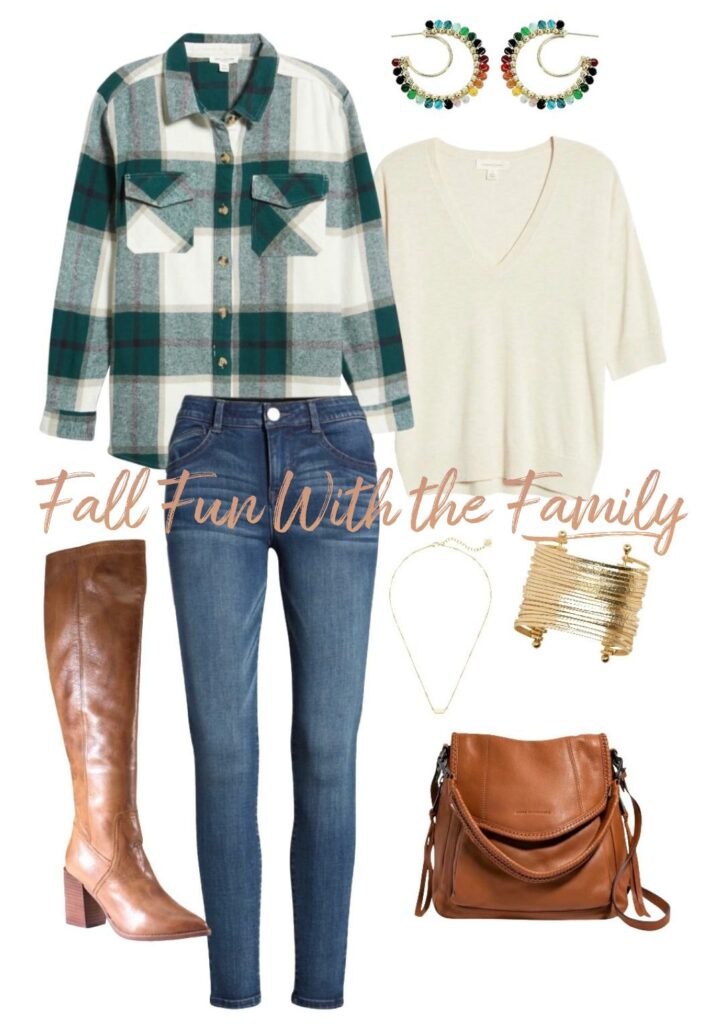
This coming Friday’s post is a Nordstrom outfit post, and when I was planning outfits, I had fun making collages while styling the clothes! These are the outfits that you will see me wearing on Friday!
oversized plaid shirt / skinny ankle jeans / cream sweater / multicolor earrings / tall boots / necklace / bracelet / bag
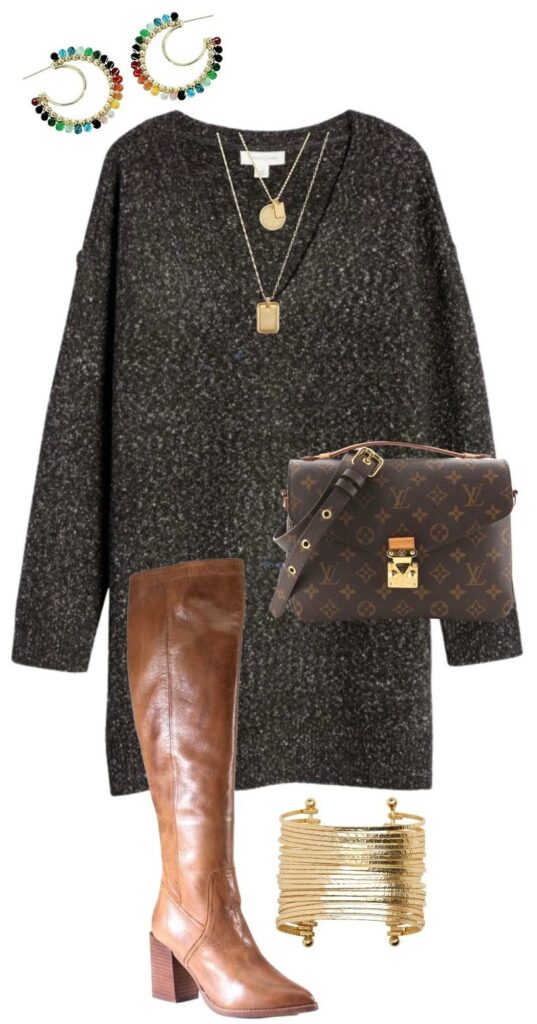
I love a sweater dress, do you?
sweater dress / multicolor earrings / layered necklace / tall boots / bracelet
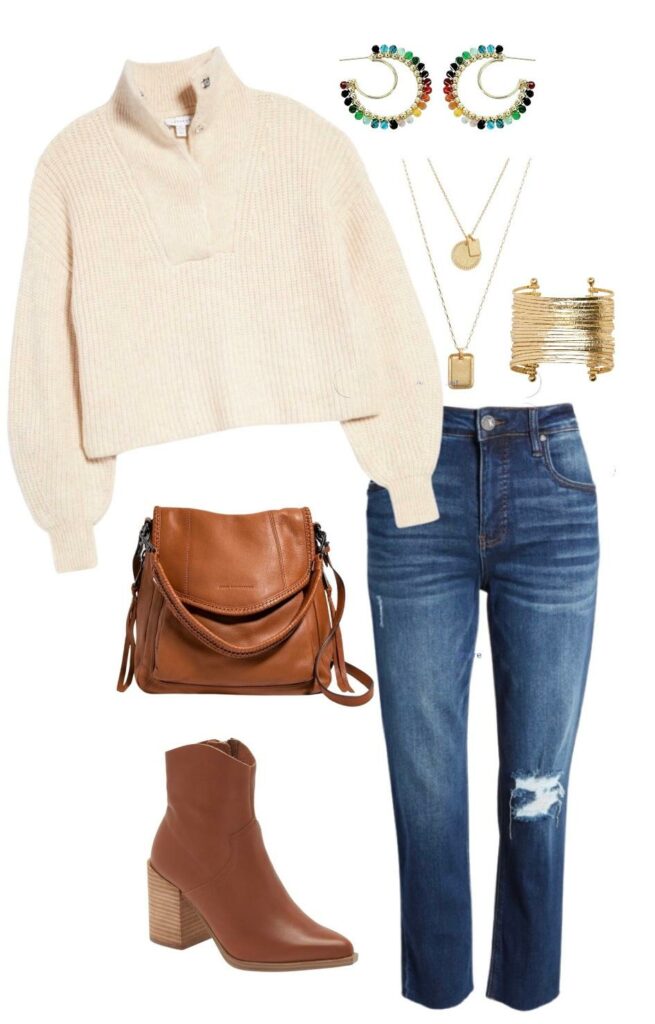
I think it’s great here how a classic cream sweater has been updated with a dramatic and oversized stand up collar!
stand collar sweater / mom jeans / cognac booties / bag / multicolor earrings / layered necklace / bracelet
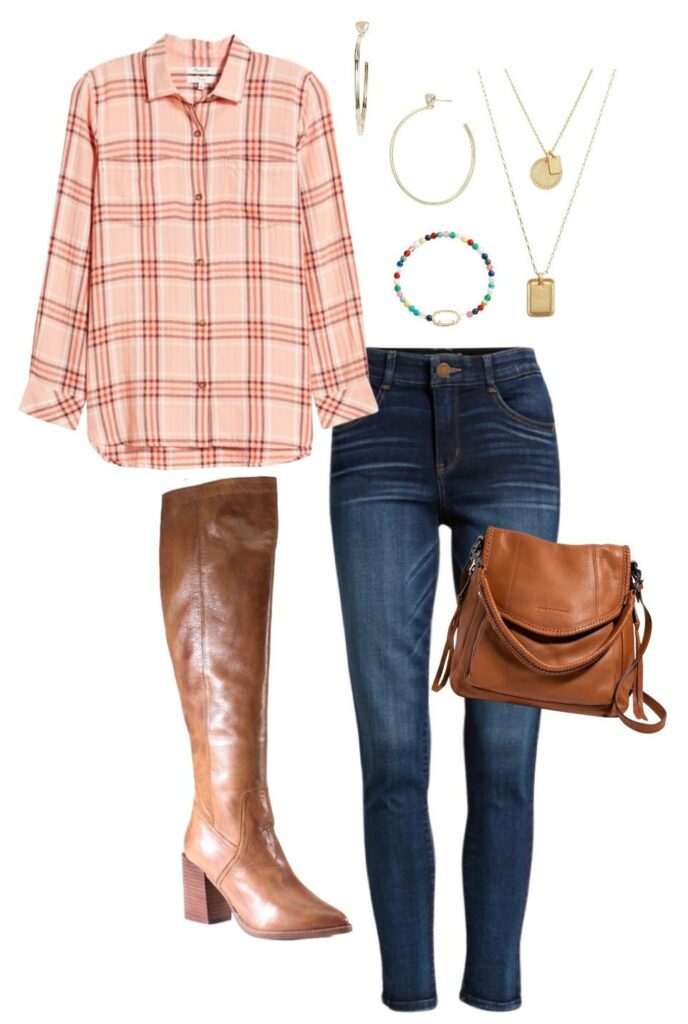
And this plaid is totally speaking to me. Pink plaid? Yes, please!
plaid button up / skinny ankle jeans / trillion hoop earrings / layered necklace / multicolor bracelet / tall boots / bag
Yep, I’m ready to play some serious dress up. It’s been way too long.
********
NORDSTROM 2022 BEAUTY POST REVIEW
As I mentioned at the beginning of today’s post, I’ve done several beauty posts already this year.
Let’s take a walk down memory lane before you go…
Click HERE for the GET YOUR GLOW ON post.

Charlotte Tilbury Pillow Talk lipstick / Juicy tubes lip gloss “hallucination” / Anastasia Diamond Gloss
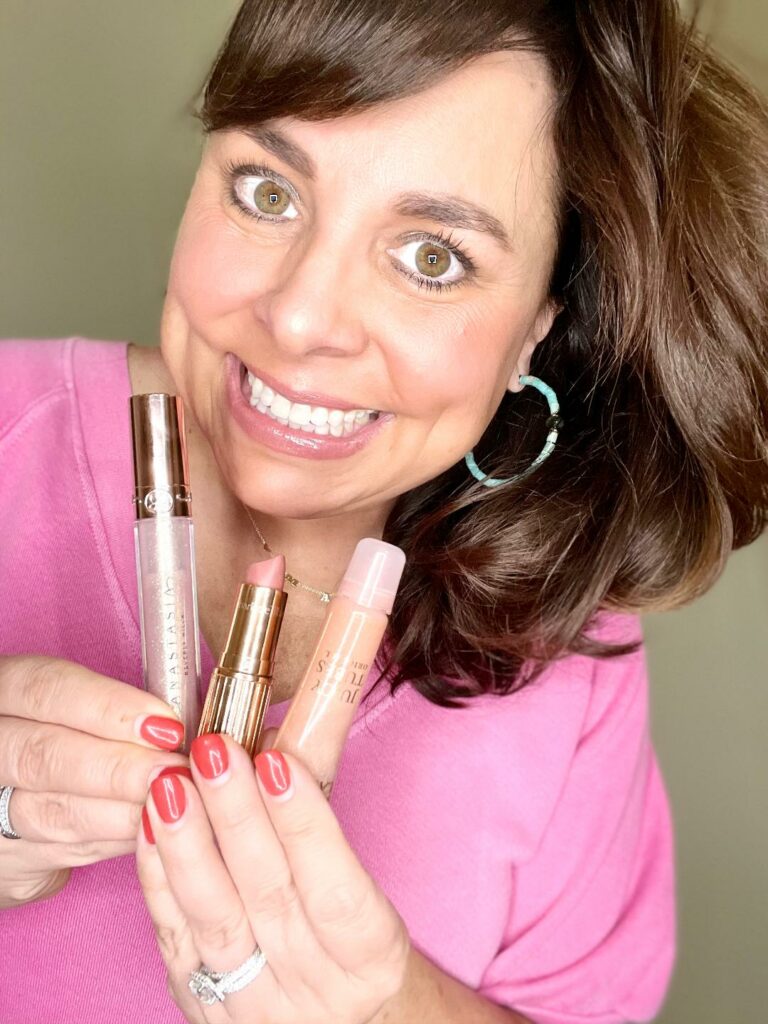
Click HERE for the Let’s Talk About Eyes post.
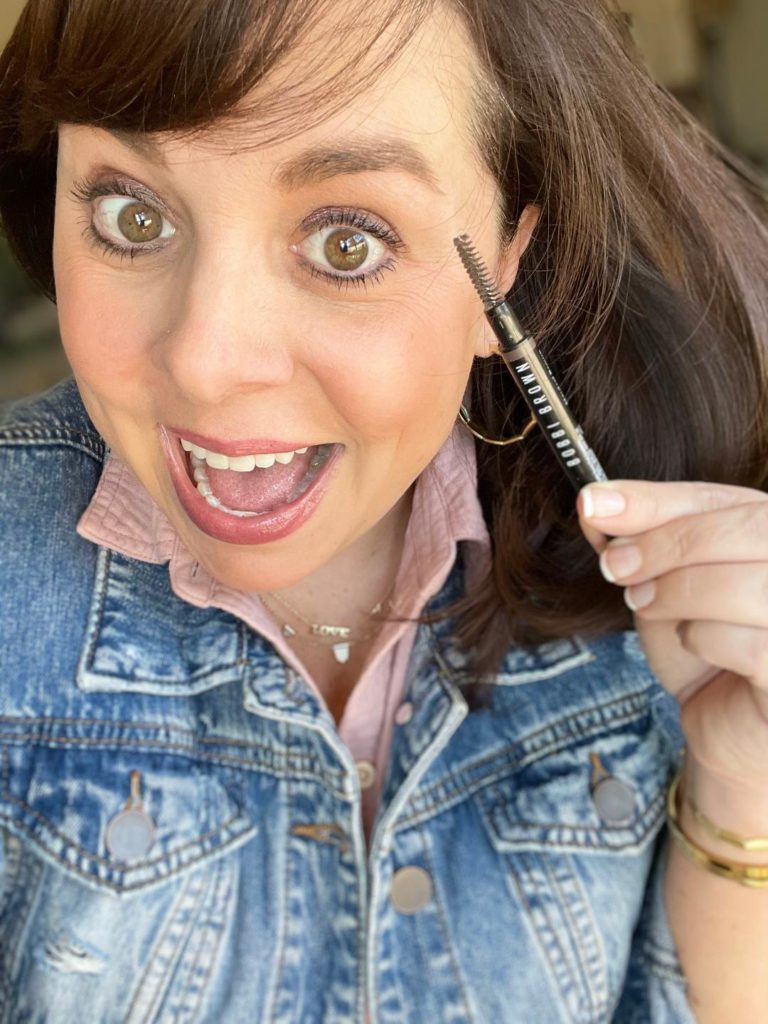
Click HERE for the post where I highlighted Lancome products.
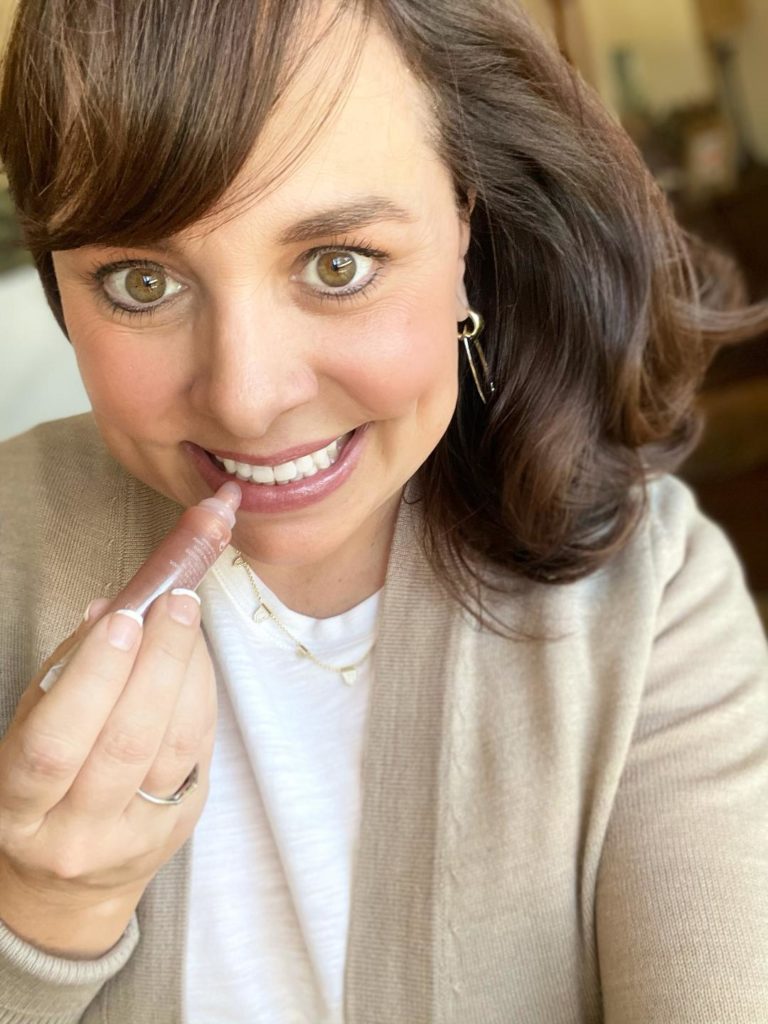
Click HERE for some fun beauty finds.
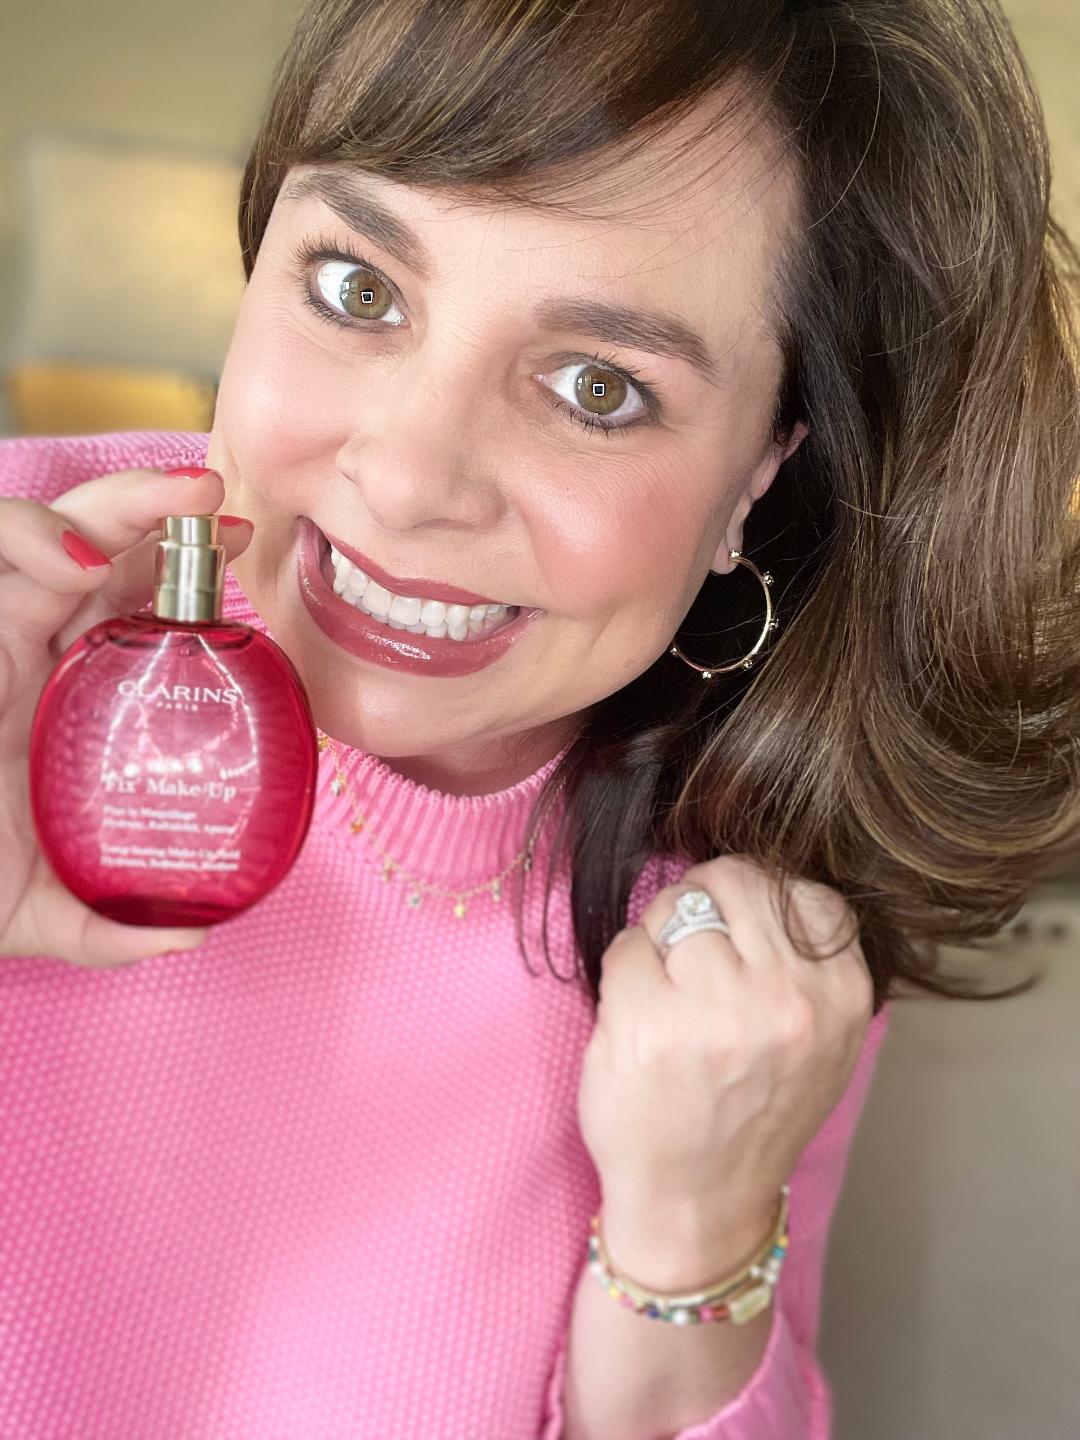
Clarins Fix Make-Up / earrings / sweater / necklace
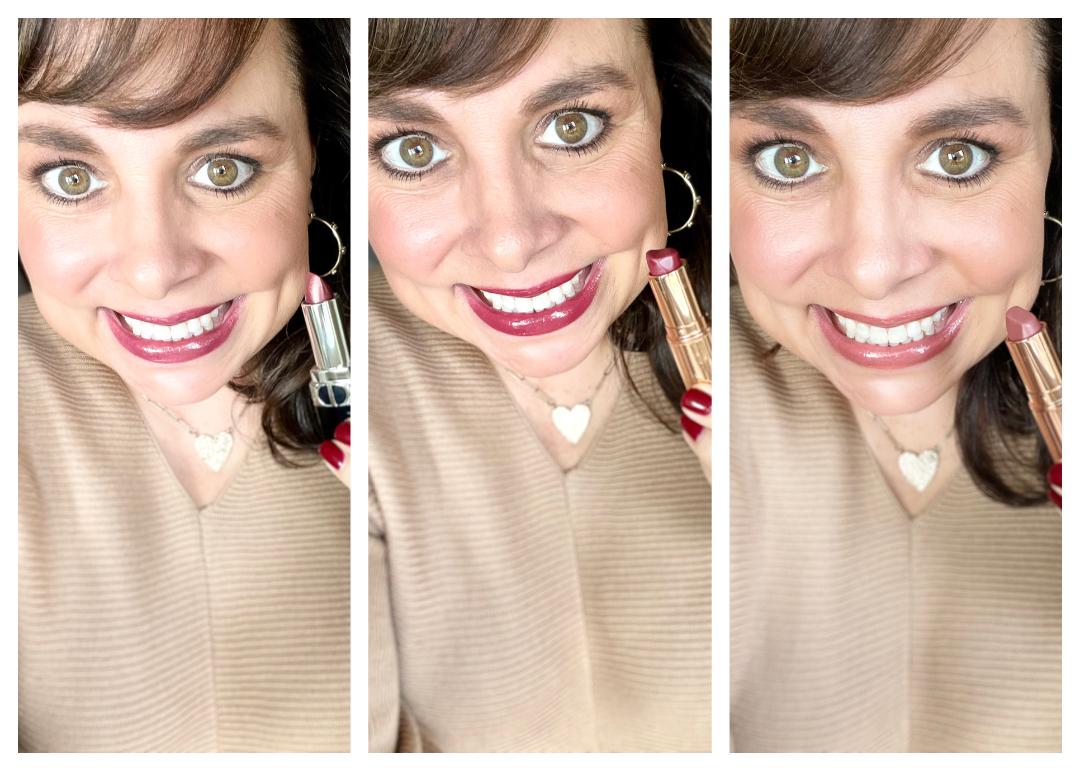
Click HERE for last month’s current makeup favorites. In the below pictures I’m wearing this liner (in “pillow talk medium”) that I’m wearing in today’s post, and with all of the lipsticks and I’m wearing the Anastasia Diamond Gloss on top of all 3 colors. I ALWAYS wear a gloss with a lipstick, and this gloss gives me the extreme shine that I often desire without altering the color of the lipstick. The Anastasia Gloss is killer. It gives incredibly high shine with just the tiniest bit of a shimmer, but not too much shimmer, because I wear it every single day.
sweater / earrings / heart necklace
from left to right: Daisy Plum / Love Liberty / Pillow Talk
**********
That’s all for today, y’all! I hope this post was helpful and you were able to find a new product or two for your personal beauty arsenal!
A huge THANK YOU to Nordstrom and ShopStyle for sponsoring this post.



Erika Slaughter says
I’m a FAN of Charlotte BIG TIME! But I’ve never heard of that glow toner before? I need to give it a shot STAT!!
Elizabeth says
You’ve made me want to update my eye look too! All of a sudden, I think what I’m doing looks too heavy and dated. AND I’m with Erika. I need that glow toner in my life.
Sheaffer says
Elizabeth, that’s totally how I felt. The moment I saw the new look I was like “Well, that’s SO much better!” Haha! 🙂 xoxo
Kathy says
So pretty!!
Sheaffer says
Thank you so much, Kathy! xoxo
Shay Shull says
This post idea was SO MUCH FUN! There are now several new (to me) Charlotte Tilbury items I need to add to cart!
sandi says
That blush color looks so fresh and natural! I usually go for brighter shades, but recently had someone recommend a more muted shade and it has made such a difference. We get into the habit of doing things the same way for years and years, everyone should have a professional do their make up at some point. Question: does the make over cost, or do they count on making money from the products purchased? Of course that may vary from location to location. We don’t have a Nordstrom anywhere close but do have Dillards.
Sheaffer says
Hi, Sandi! At Nordstrom the makeover is free of charge! They of course hope you end up purchasing products, but you absolutely do not have to! And yes, I agree….I’m going to make it a priority to have a makeup refresh done at least every couple of years! xoxo
Clary says
You look gorgeous! So you’re wearing the airbrush bronzer on your lids? And she used that as eyeliner too?
Sheaffer says
Thank you so much, Clary! AND YES! She didn’t even use a primer on my lids, said the bronzer was enough. She put the bronzer all over my upper and lower lid. She then used the small brush I linked in the collage to apply bronzer under my lower lashline. She used actual eyeliner in my upper lash line (not above my lashline like I have always applied it) before applying mascara. Hope this helps! xoxo 🙂
Carly says
Truth: Saw your picture from today BEFORE I knew what today’s topic was about. I thought wow…you look beautiful and your skin/make up is so natural, look years younger today. I honestly thought are you using a new filter for pics? A lot of bloggers make themselves look “crazy fake younger” when they are not 25 but 40. There is a visible difference with using these products and sign me up for that! Sincerely, you always show us real and because you do I trust your opinion because your willing to show us the truth.
Sheaffer says
Hi, Carly! I don’t use a filter on makeup pics and posts. I do take them in portrait mode when I’m doing a selfie, and I do feel like the lighting in that mode is stellar, but I’ve always taken my makeup selfies in that mode, so nothing different there! Thank you so much for the sweet words! xoxo
MB says
Wow- you look extra beautiful! You always look amazing, but I am really loving that new eye makeup look. I think I will try a lighter hand with the liner and see if I can get the same results- you are just such a beauty Sheaffer!
Sheaffer says
My gosh y’all are making me feel so great this morning! I’m so happy that y’all notice a difference too!!!! Seriously, thank you so much for the kind words, MB. xoxo
Kathy says
Hey Sheaffer, thanks for the inspiration to update my eye makeup! Also, I’m ordering the multilayer necklace-so pretty!
Sheaffer says
Hi, Kathy!!! RIGHT????? I really do feel like the lighter hand and her different techniques made such a difference in updating my look!!! xoxo
PB says
Sheaffer, your eyes look BEAUTIFUL! The eyeliner in the lash line is a revelation, and your lashes really look great. I’m never sure what to do under my eye – eyeshadow? eyeliner? mascara or not? Could you please show us a step by step for that entire eye makeover in an upcoming post?
Sheaffer says
Thank you SO MUCH! It IS, isn’t it!?! I’ve been lining in my top lash line all week (it takes some practice, but I’m getting better at it). I haven’t done the bronzer shadow under my eye yet, but I’m going to try today. And yes, I’ll try to film a tutorial soon! xoxo
Kristen says
You look fab!!! I’m not sure I understand what you are saying about the eyeliner? On top, is the liner going on “upper waterline” . . . so you’re liining from the underside?
Sheaffer says
Hi, Kristen! THANK YOU! The eyeliner on the upper lid is IN my upper lash line. You’re lining right where the lashes are….not above them, not below them. Hope that makes sense! She put the beige color on my lower waterline. xoxo
Alison says
Sheaffer, you look simply gorgeous!! Every shade looks beautiful on you. Sounds like it was such a fun makeover. That CT artist clearly knows her brand, well! You’ve both convinced me I need to give it a try. 🙂 I’m definitely bookmarking this post, so I can come back to it and try some new products this winter!
Sheaffer says
Yes, Alison! Sarah was so talented! Thank you for the sweet words, and I’m so glad you enjoyed the post! xoxo