GIRLS! I’ve got an incredible deal to share with y’all today. I’m SO PUMPED, and I know y’all are going to be too.
WHAT: Today we are talking about the tarte Custom Kit Event. It only happens once or twice a year, so take advantage!
WHEN: It started yesterday, and it ends either tomorrow (or maybe Friday). I’ve seen one e-mail that says it’s 3 days and another that says it lasts until Friday, so I’m just not quire sure.
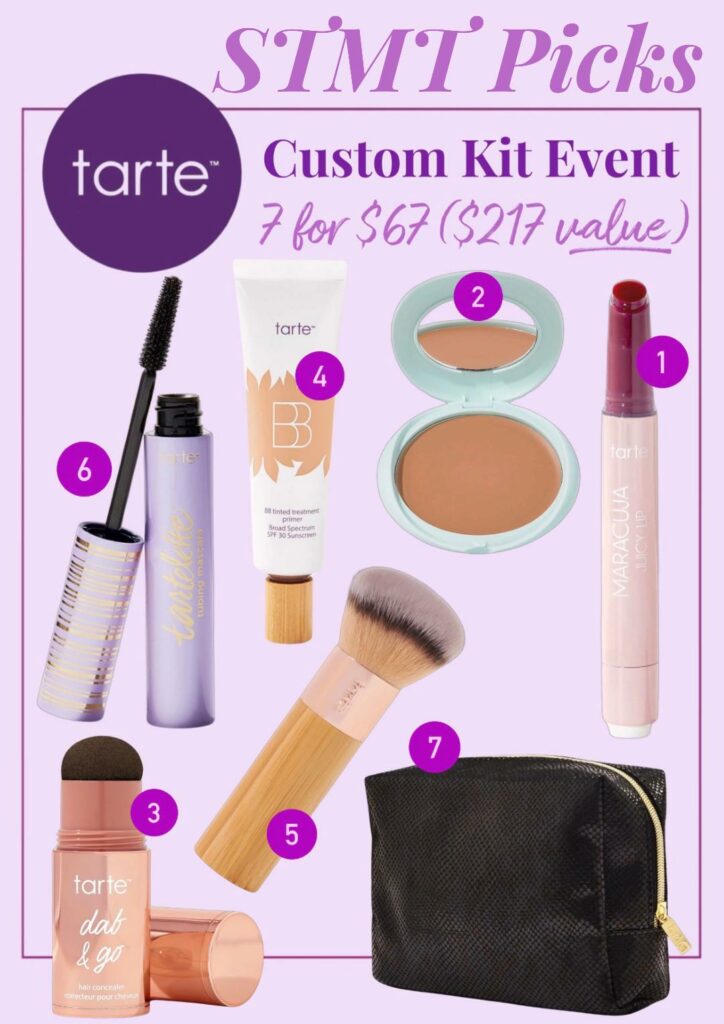
DETAILS: The tarte Cosmetics Custom Kit Deal allows you to choose 6 full sized items (1 product from each category) + 1 bag of your choice to create your own kit for $67 USD + free shipping (up to a $217 value depending on products chosen)!!! During today’s kit event, they are allowing you to grab 3 kits per order (I believe the maximum has been 2 in the past). Just think of the products you can stock up on and think of the gifts you can cross off your list!
And don’t worry if you’re not familiar with tarte cosmetics, you’re going to get a full introduction today! I’ve posted about the brand on a handful of occasions, but here’s the basics of what you need to know…
As a leader in the beauty industry with good-for-you ingredients, tarte offers eco-chic and cruelty-free cosmetics as well as hypoallergenic and vegan skincare. Every product is packed with naturally-derived ingredients and formulated without the bad stuff like parabens, phthalates, sodium lauryl sulfate, triclosan & gluten. To read even more about the brand, click HERE.
And not only are the products made with great stuff, they also look great on, so they’ll make you feel great too!
But today is specifically about the tarte Custom Kit Event. If you click HERE, the site will walk you thru the steps on how to create your own custom kit. The first page you see will be the choices for Step 1. After you make your choice for Step 1, you will see your choices for Step 2. It will walk you through all of your choices, and then you can add your own personally customized kit to your cart! It’s AWESOME, SO EASY, and SUPER FUN to create your own kit!!! After you add the kit to your cart, it will show you your total savings!
STEPS FOR CREATING YOUR OWN CUSTOM KIT
- Step 1: Choose your Lip
- Step 2: Choose Your Cheek
- Step 3: Choose Your Eye Product
- Step 4: Choose Your Complexion
- Step 5: Choose Your Prep and Set
- Step 6: Choose Your Mascara
- Step 7: Choose Your Bag
PRO TIP: I’ve seen in the past that some of the most popular items do start to sell out, so the faster you check out, the more likely you are to get your first choices in each category. Since this is only the 2nd day of the event, I’m hoping that everything is still available, but as the sale goes on, the choices in each category will be less and less as items start to sell out.
WHAT DID I CHOOSE FOR MY KIT?
Here are my picks…
For my kit this time, I chose 2 products that I already know and LOVE… and the other products are new to me products that I’m excited to try!
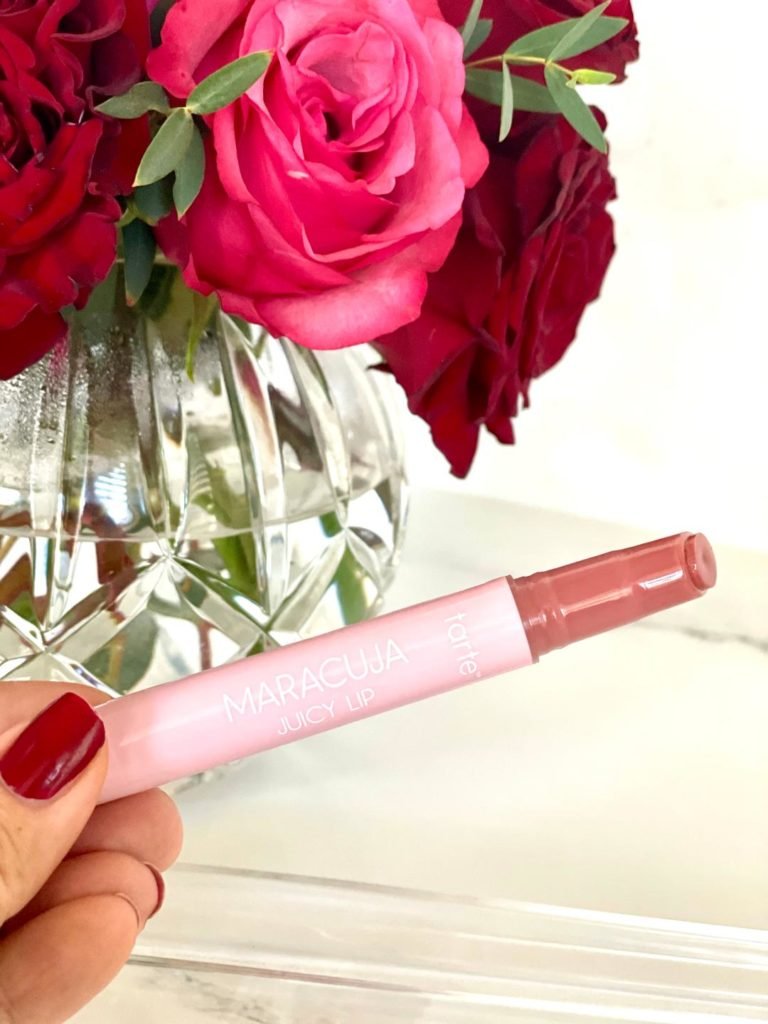
- Step 1: Choose your Lip:
When checking out all of your lip choices, there are several different kinds of beautiful glosses and lipsticks to choose from. Without hesitation, I went with the maracuja juicy lip. I’ve used this lip product for a couple of years now, and I absolutely love it. First of all, this product provides sooooo much moisture and definitely lives up to its “juicy lips” name. When using this product, you will get a really pretty sheer and shiny look. I have and love the strawberry, but this time I went with “raspberry” that’s described as a deep red berry.
And get this! They all smell like coconut! It’s not overpowering at all, it’s just a lovely experience when applying it.
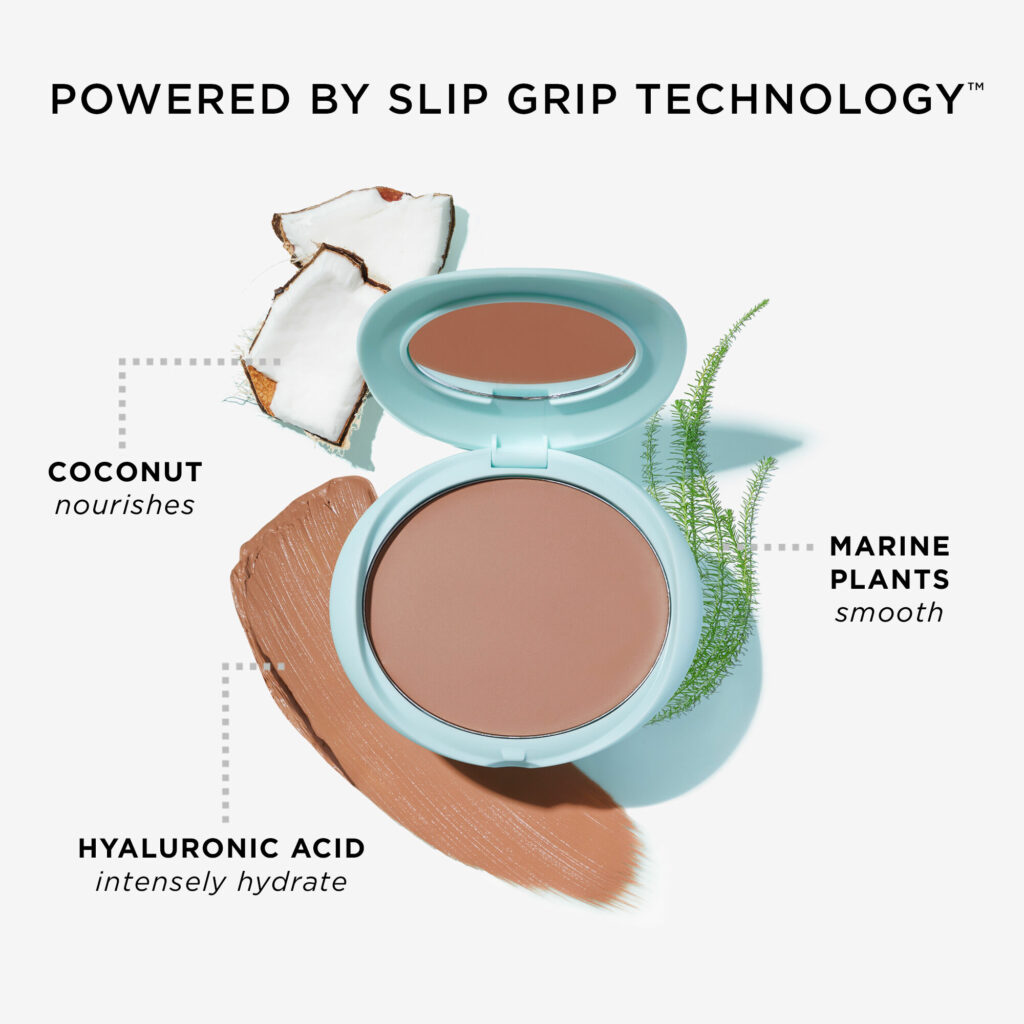
- Step 2: For the cheeks step, I was able to choose between shape tape (probably their most famous product), powder blush, cream blush, bronzer, cheek stain, and a couple of other things. I went with the cream bronzer! It has great reviews and users say it goes on easily, blends easily, and has really pretty color.
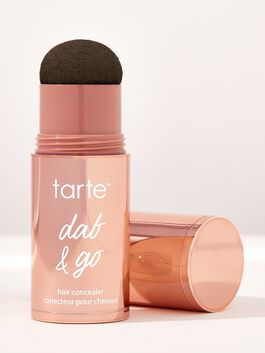
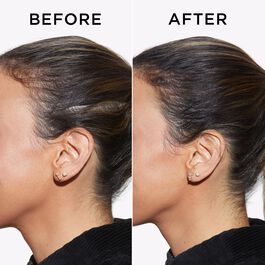
- Step 3: Choose Your Eye Product: For Step 3 I chose a new (to me) product. And although I’m not sure why it is in this category since it’s not an eye product, it was a product I was super interested in. It’s the dab and go hair concealer. To use: twist to remove the cap, press sponge into lid to transfer product onto applicator, dab directly onto dry hair and scalp & work outwards. Use it to cover thinning areas, roots, & greys!
My hair is quite dark, so I often have really white parts of my scalp that show through depending on how my hair is cooperating that day when I’m styling it. I don’t really notice it in real life since it’s on the top of my head, but I don’t like it when it shows up in pictures. I’m excited that a little bit of this product dabbed on my scalp might camouflage a white spot here or there in pics! Look at the difference here!
Other options to choose for Step 3 include the viral fake awake liner (that you put on your bottom waterline to really wake your face up), eyebrow products, eye and cheek palettes, and eyeliner!
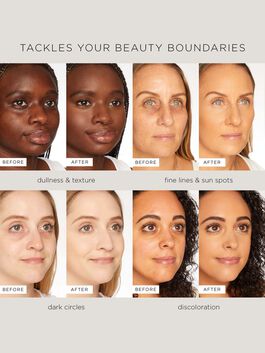
- Step 4: Choose Your Complexion When I saw these before and after pictures, I immediately threw the blur tinted moisturizer in my cart. Look at the color correction! Look at the smoothing effect! Look at the coverage (that doesn’t look cakey or heavy)! AND it has SPF30. I’m really exited to try it.
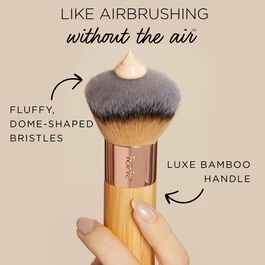
- Step 5: Choose Your Prep and Set I’ve been hearing lots of other influencers talk about this exact brush, and I love a good brush, so I was excited to scoop this one up. Other options for this step include eye cream, makeup primer, makeup setting spray, moisturizer, setting powder, and a lip mask.
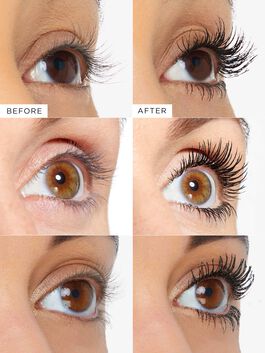
- Step 6: Choose Your Mascara: This was a no brainer for me. For about the last 6 months or so I’ve been absolutely devoted to the tartlette tubing mascara (in the purple tube). It’s AMAZING. I have the best lashes of my life using this stuff. After a lifetime of never absolutely loving any mascara I used, I LOVE THIS MASCARA. (There were a lot of times that I thought I loved a mascara, but as I would continue to use it, for some reason or another I wouldn’t continue to love it.) But I will buy this tartlette tubing mascara over and over again. It doesn’t flake or smudge at all, and it adds little tubes to the ends of the lashes to lengthen them.
- Step 7: Choose Your Bag There’s actually just a black bag option this go around, but it looks great!
And like I said at the beginning of the post, you can make up to 3 custom kits! I added another two to my cart for a gift for some family members. It’s never too early to get a jump start on Christmas!
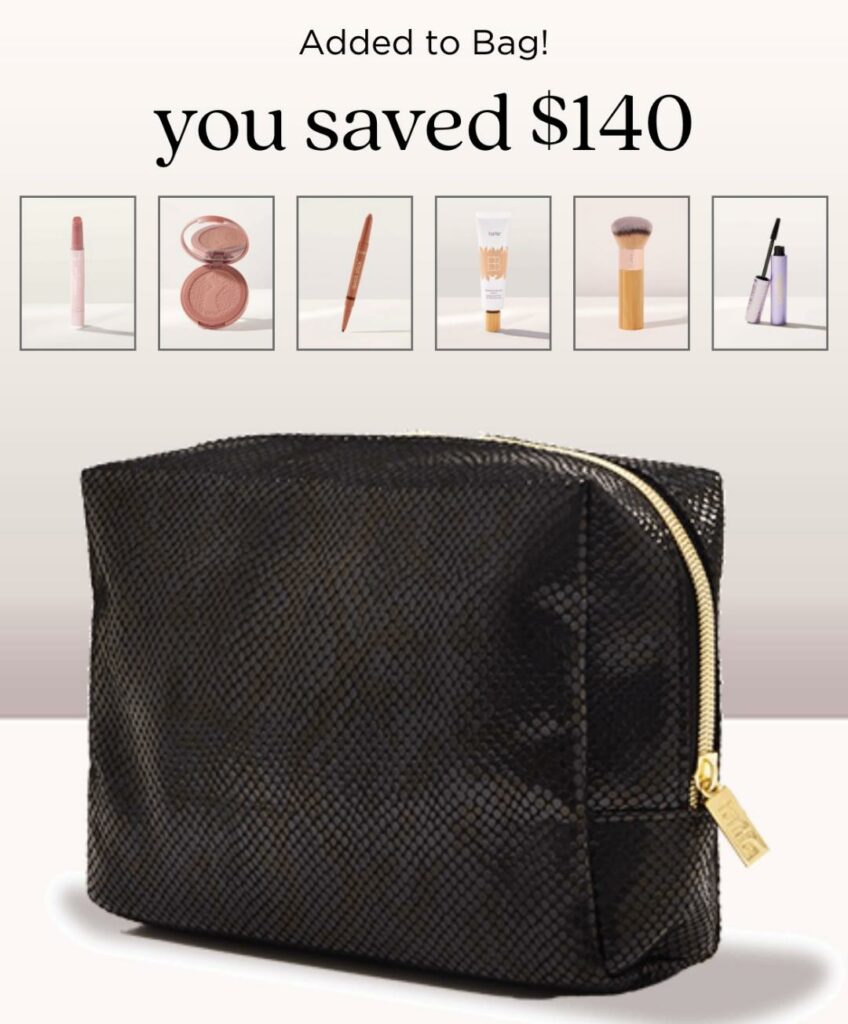
The 2nd bag I created…
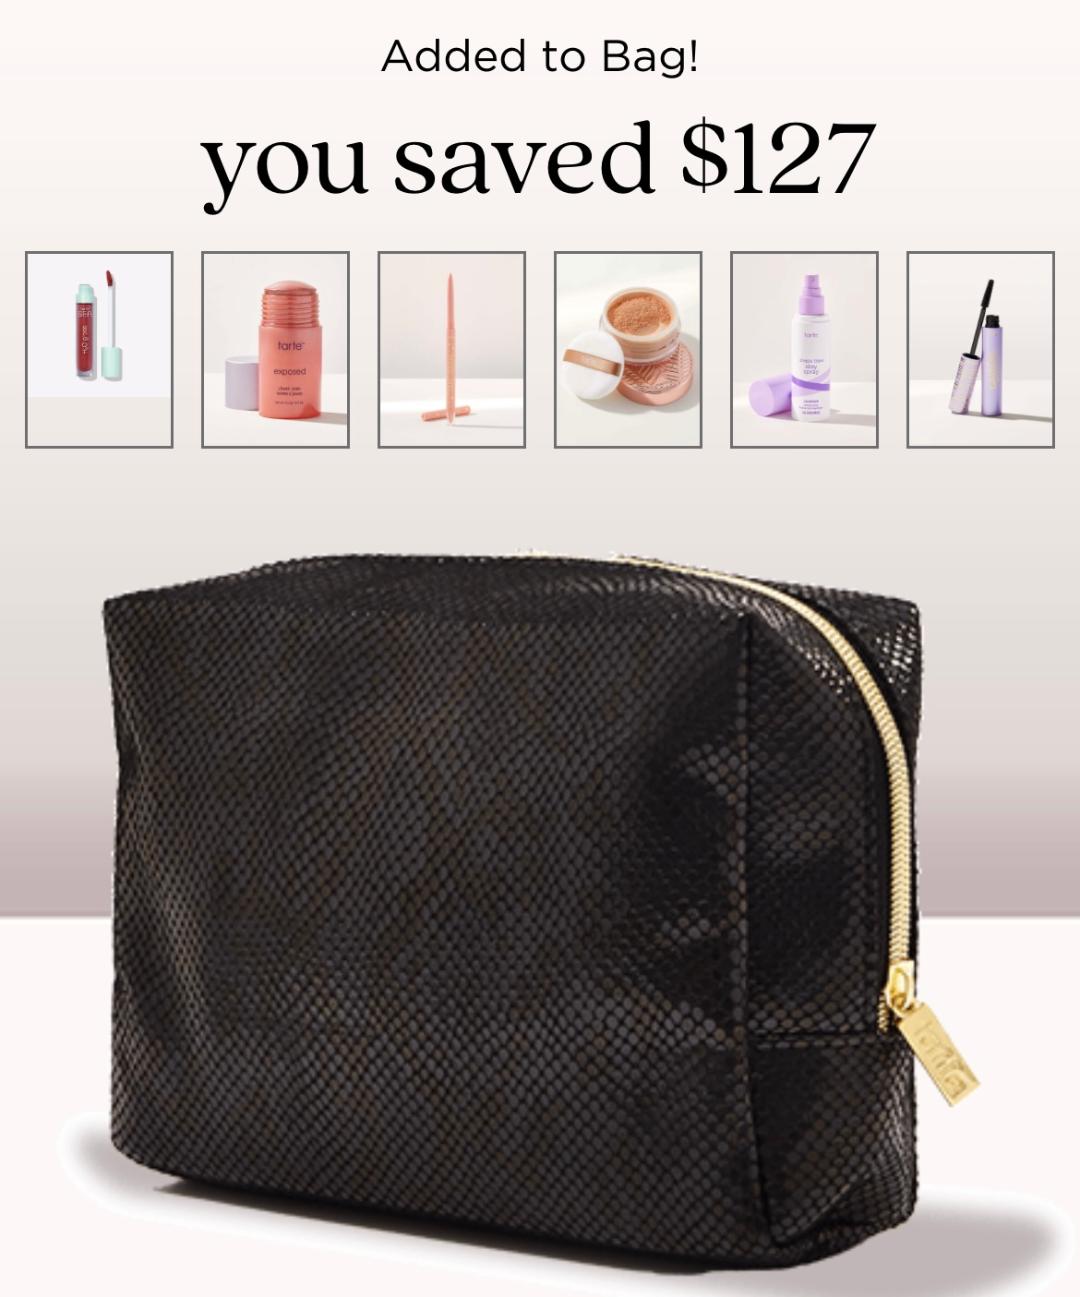
And the third…
**********
FINAL THOUGHTS
So what do y’all think? Are you totally psyched about this deal? I think it’s obvious that I am. Haha!
It takes under 5 minutes to create your own personal custom kit, so there’s really no reason to not go check it out!
The tarte Custom Kit Event is an incredible value, and it’s a great way to grab old favorites (if you’re already a fan of the brand) AND try out new products for such a fantastic price. You simply can’t beat this promo. We are talking FULL SIZE products AND you get a myriad of choices for each step, meaning you can totally personalize your kit and make it perfect for YOU!
Have fun personalizing your kit, and I’ll see you back here on Friday!
Leave a Reply